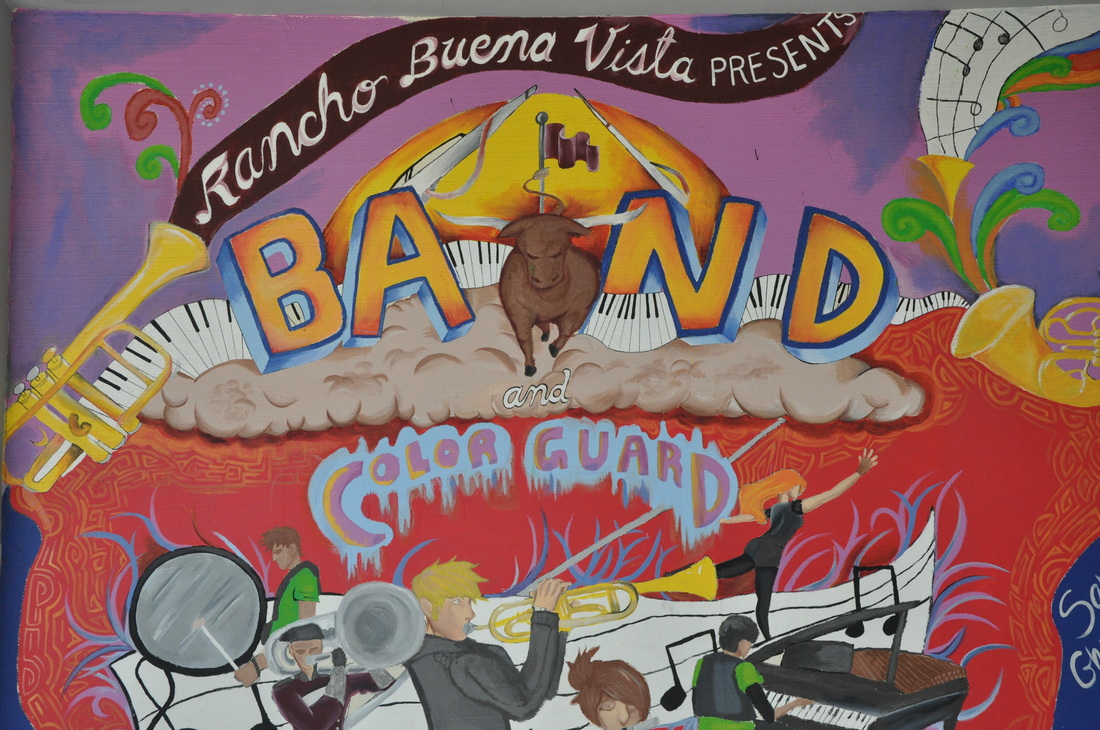
David Hockney
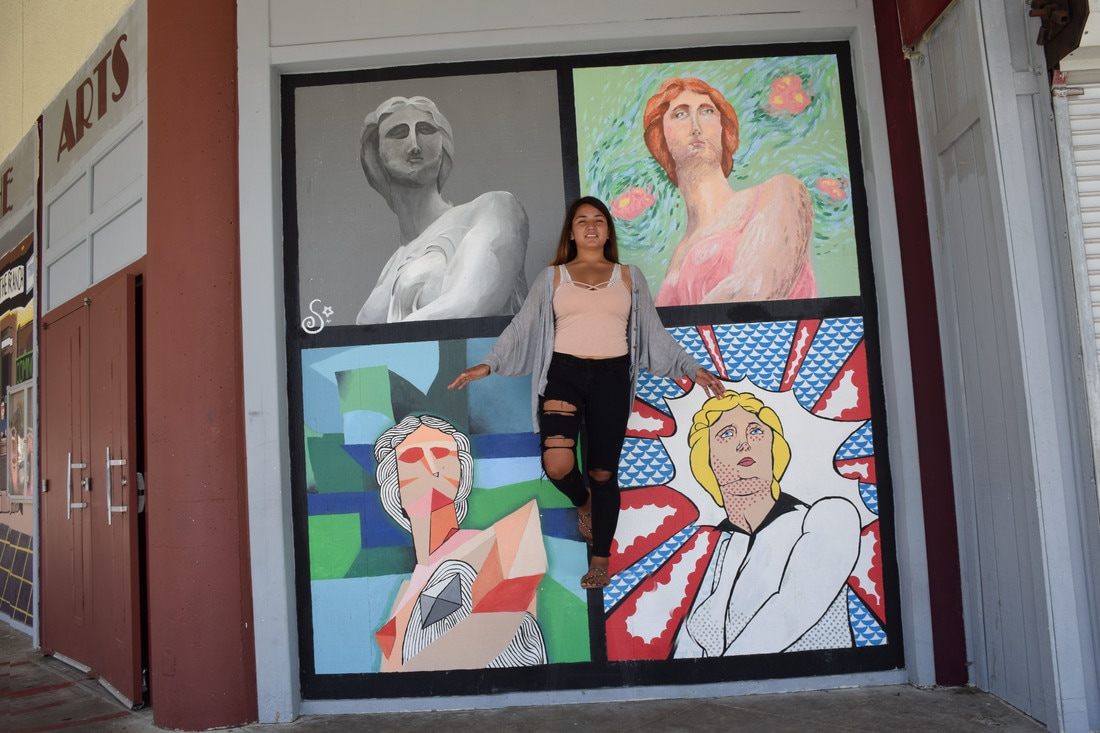
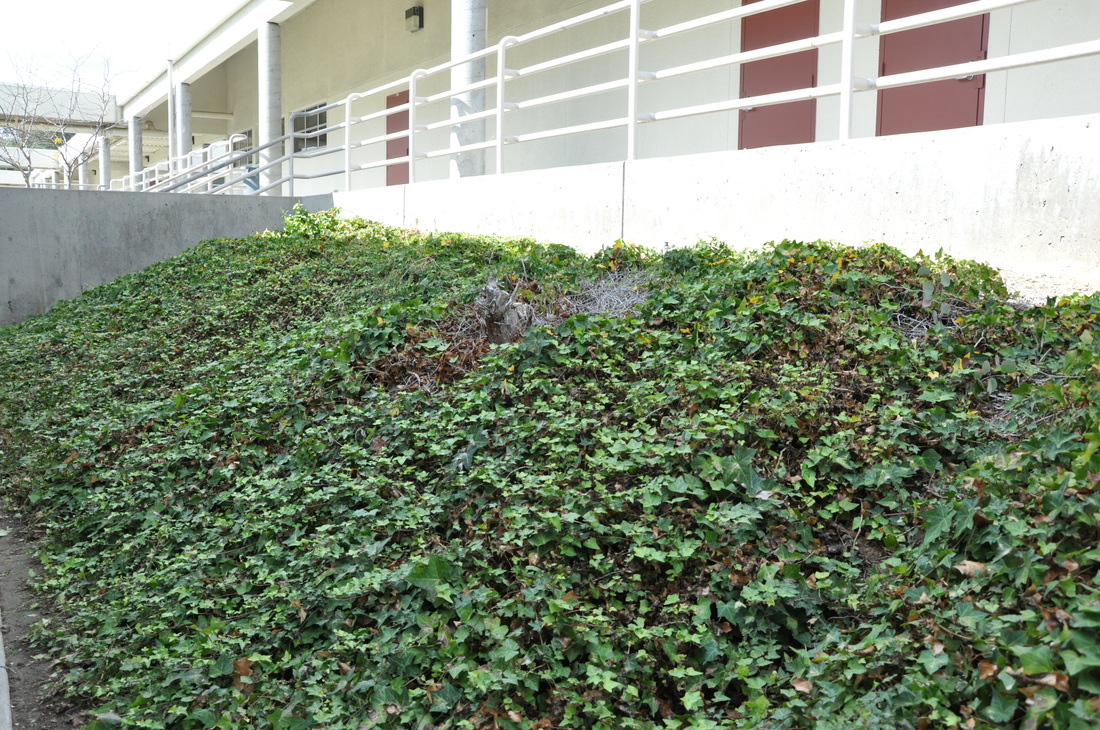
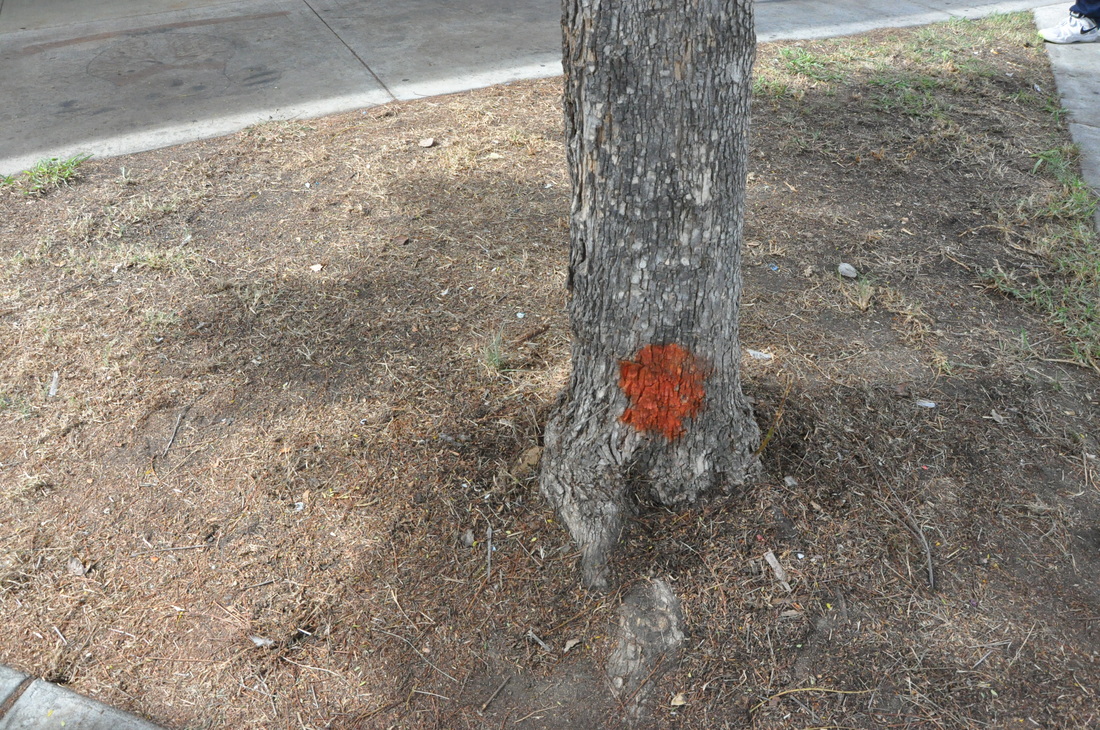
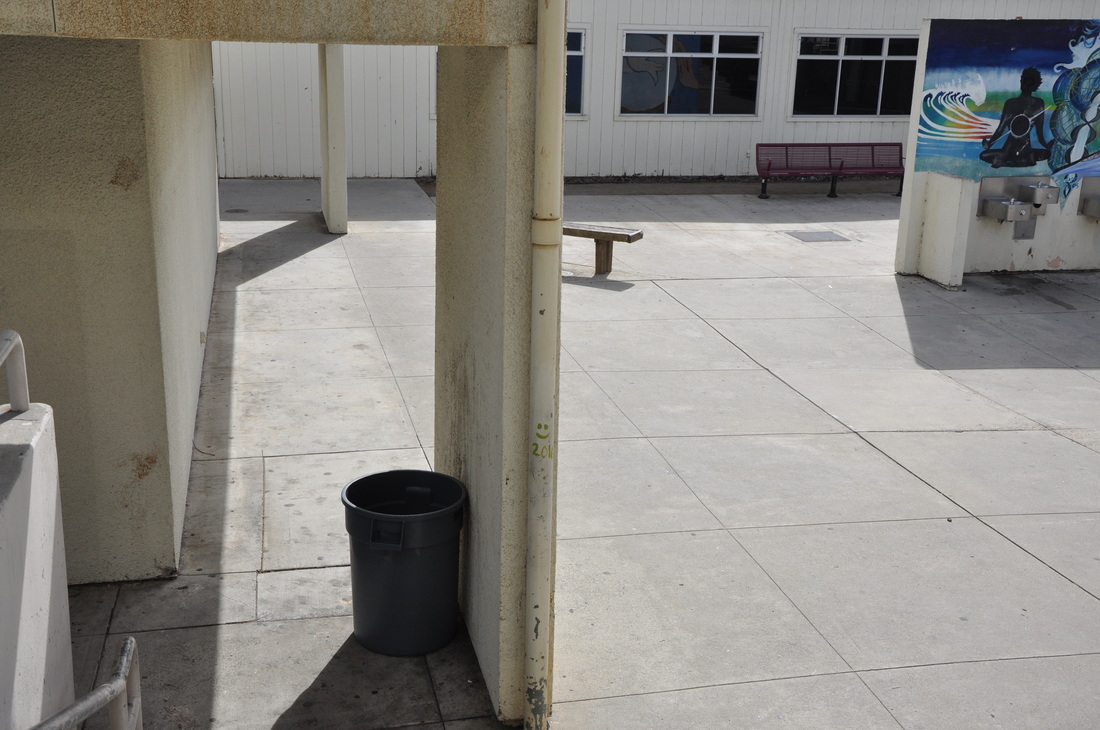
David Hockney was born July 9 1937 in Bradford England He's was a important contributor to the pop art movement of the 1960's. Hockney is considered one of the most influential british artist of the 20th century. Hockney attended Bradford School of ART and studied traditional painting. In the 1960 he moved to Los Angeles . He is known for photo collages. David Hockney is a english painter, draughtsman, stage designer, and photographer. The artwork we did emulates his artwork because we too different shots of a subject and tried to put it all together in one and thats how some of the photos he has done are.
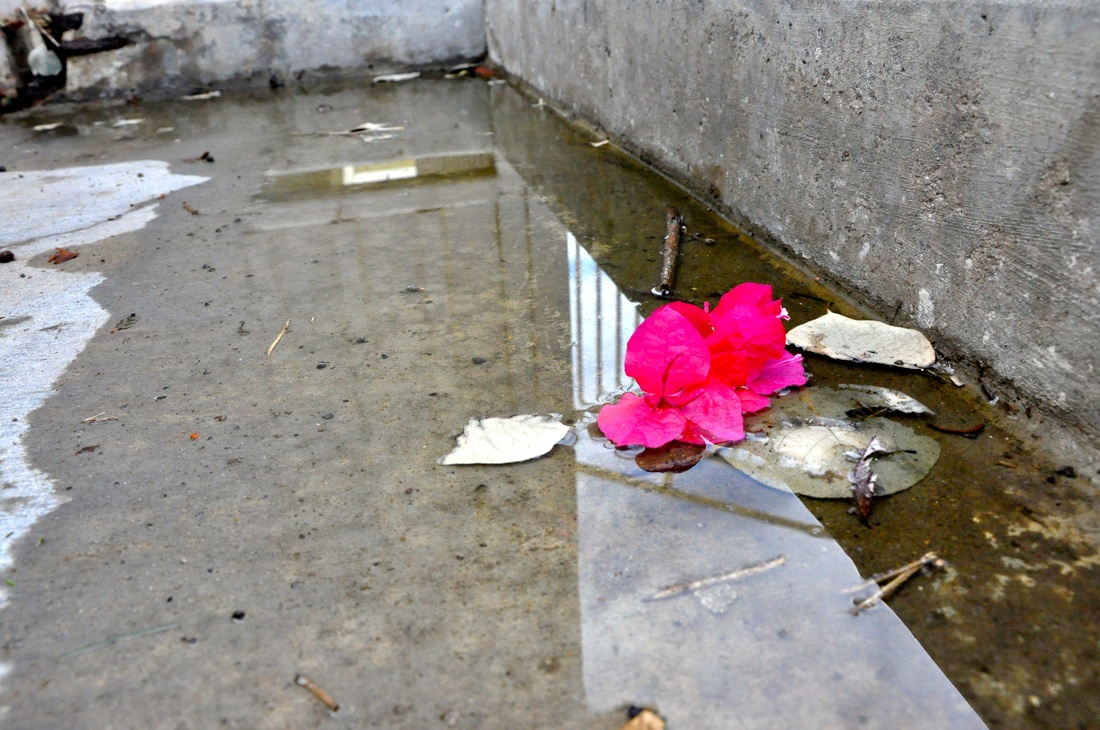
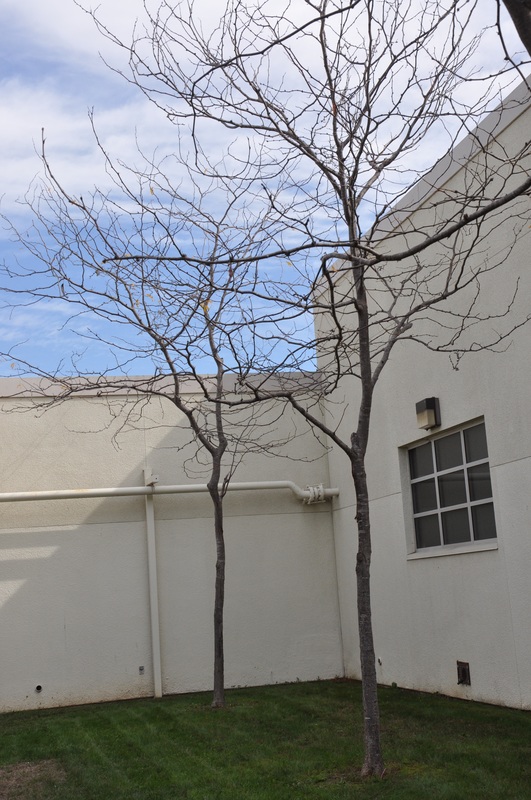
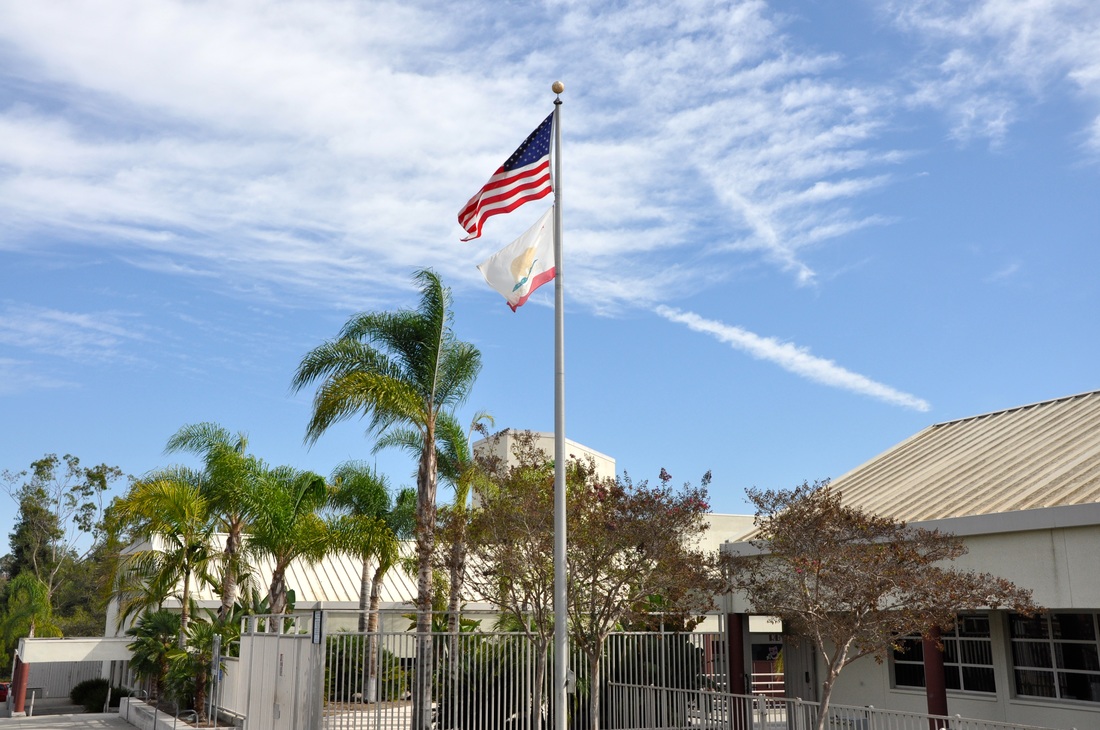
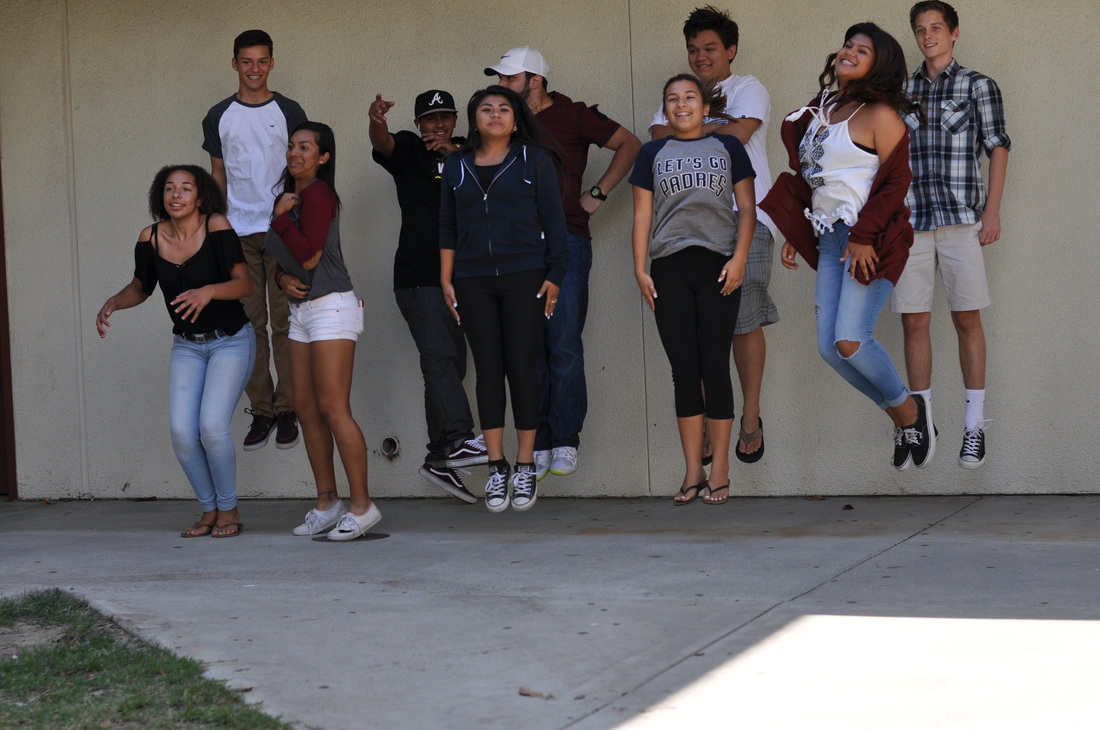
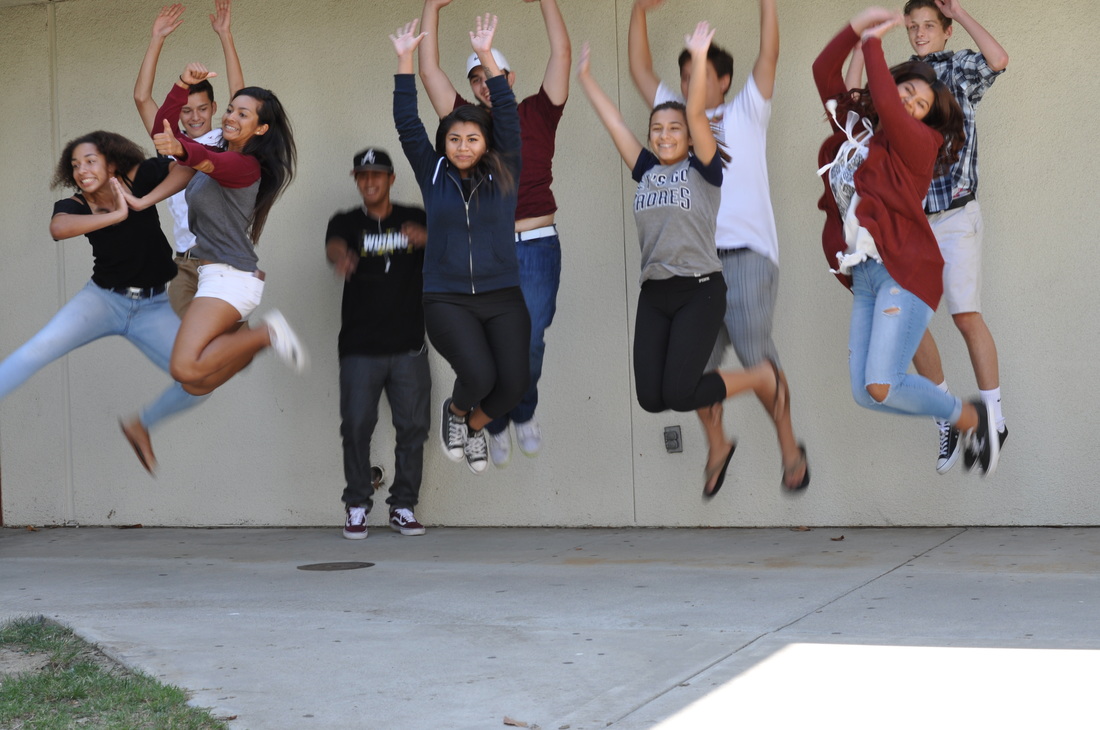
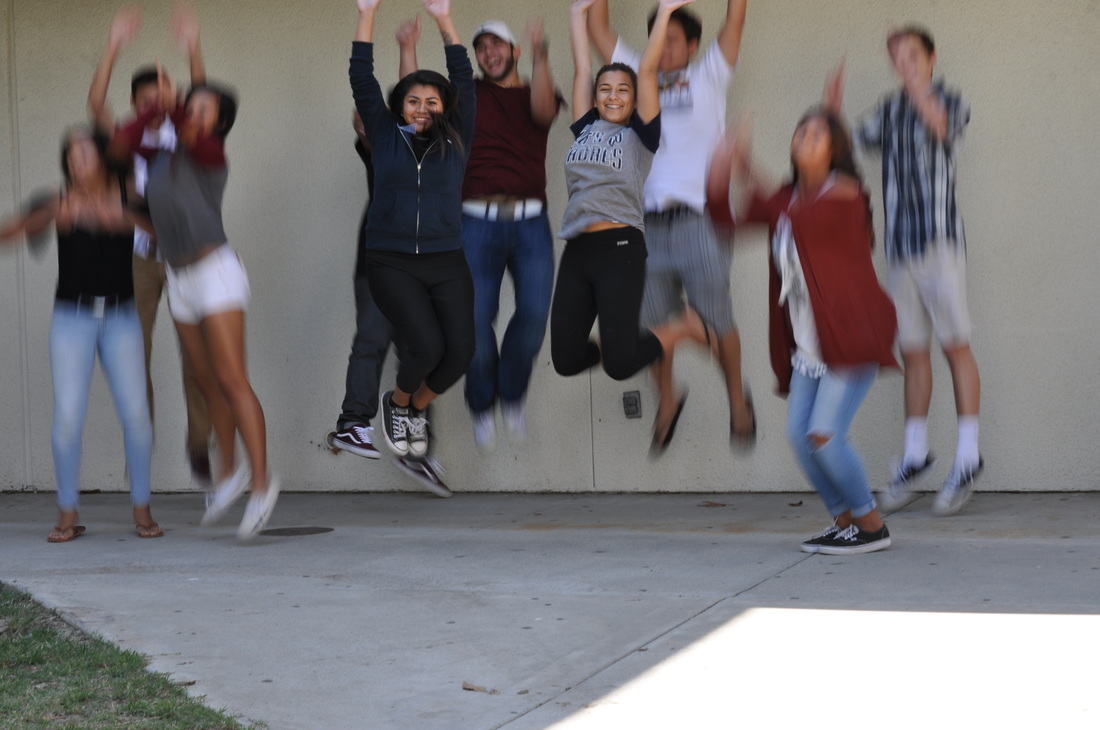
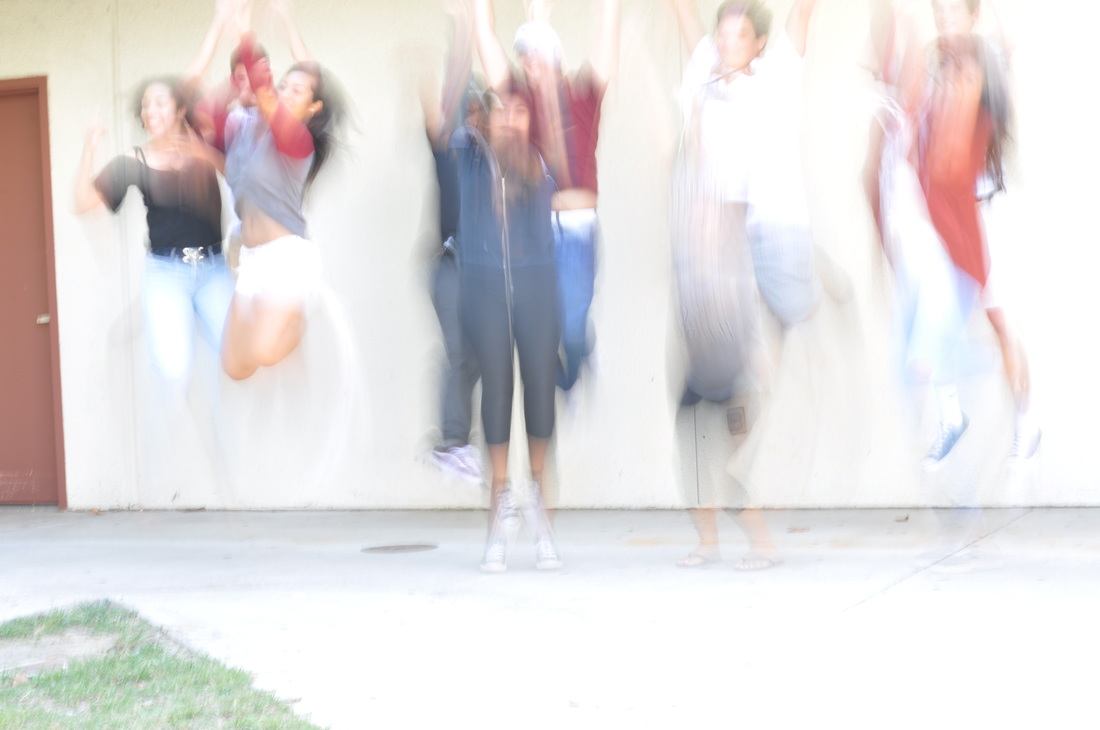
In order to do this work i took at least 8 shots of a subject some from different type os angles making sure you get good pictures that will match up in a way to each other. For the two pictures i did i took multiple shots and in adobe photoshop made a new document and dragged my photos in. When dragging them i try to make them all the same size to match them all up together and try to get the same picture using 6+ photographs we took its like creating a puzzle.
In order to do this work i took at least 8 shots of a subject some from different type os angles making sure you get good pictures that will match up in a way to each other. For the two pictures i did i took multiple shots and in adobe photoshop made a new document and dragged my photos in. When dragging them i try to make them all the same size to match them all up together and try to get the same picture using 6+ photographs we took its like creating a puzzle.
Magazine Cover
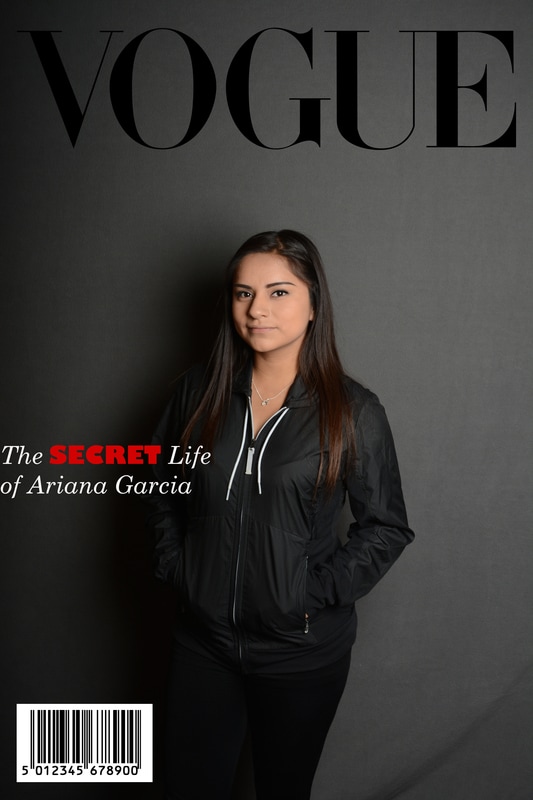
In this project I chose this magazine not really a reason just thought it would of been pretty cool to do a Vogue magazine just like how the writing is just simple but nice. To emulate the magazine cover i made it with the same font and wrote something that will come up on the magazine. The font and style i used for my cover was kinda simple and i used the color black to give it a serious mood. My set up was very simple nothing to extreme. A strobe light is a device use to produce regular flashes of light. This is use for perfect lighting in the photograph give it a natural look. Strobe light is connected to your camera meaning the flash will go on from the same direction.
Modeling light is a continuous light source. This allows photographer to usually sense of the lighting effect the flash, when it fires. Soft box is a light reduces harsh shadows. The closer the soft box is the softer the light will be. A reflector helps a photographer give his photograph better lighting or a softer look. Just depends which reflector you use.
In order to have the lighting of the reflector you need to have an assistant hold it and move it around till its were you want it to be your picture. A grey card is a flat object of a neutral gray color that derives from a flat reflectance spectrum. It is used together with a reflective light meter as a way to produce consistent image exposure in photography.
Sports Photography
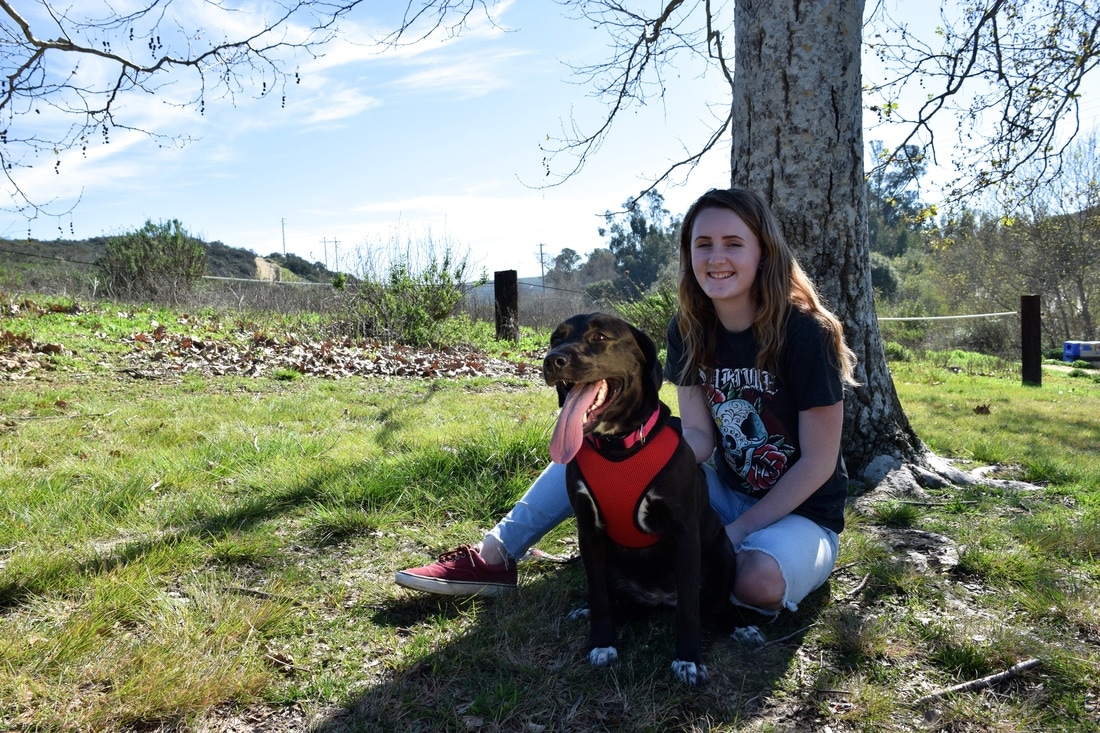
Family Photography
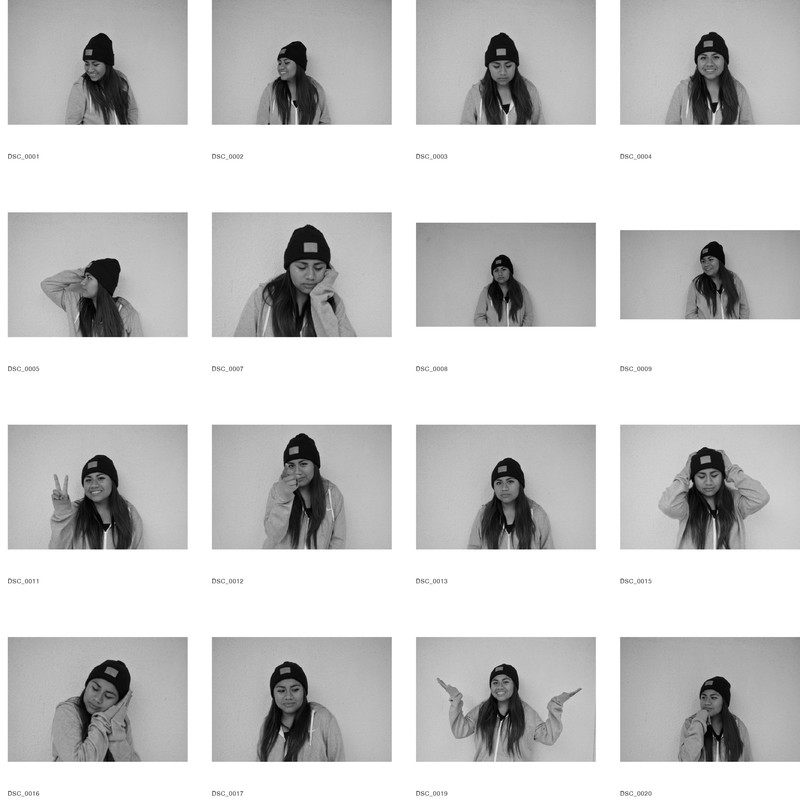
Expressions
Del Mar Fair Entry
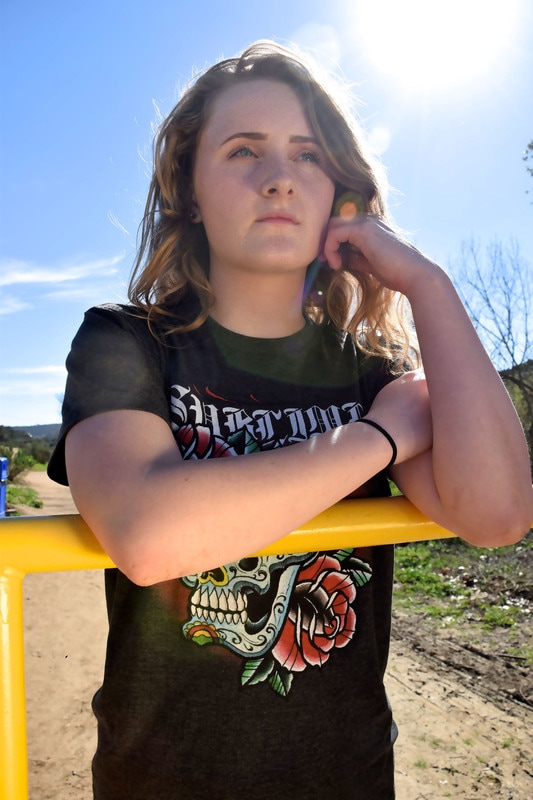
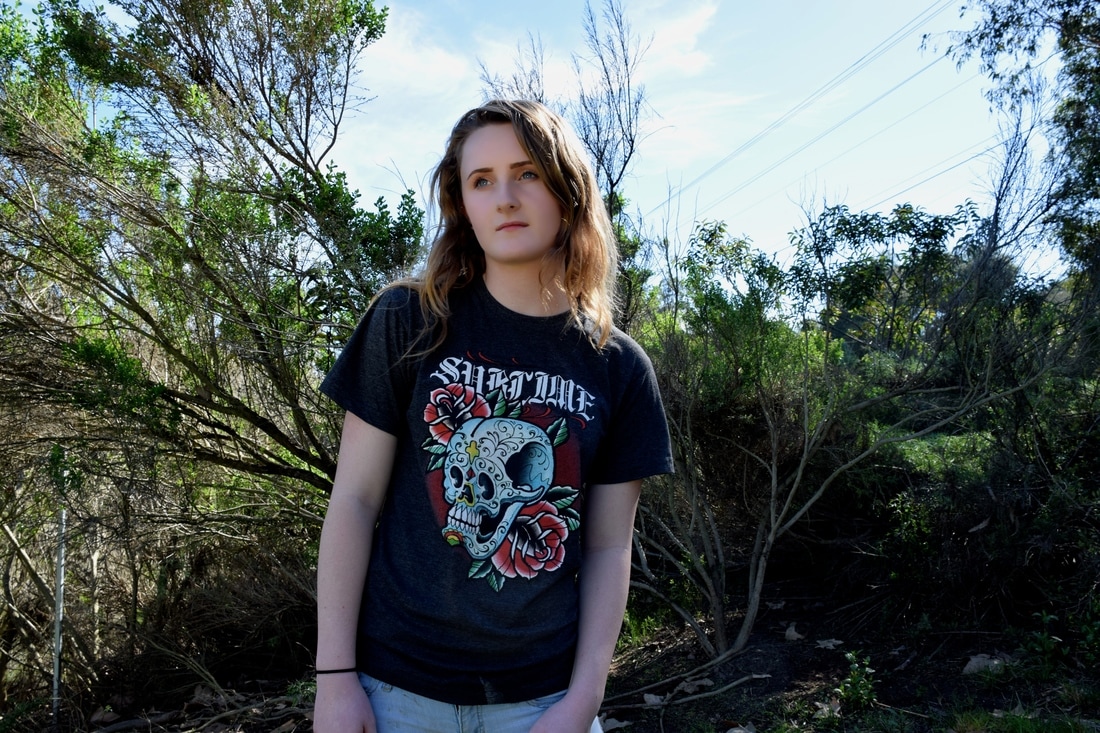
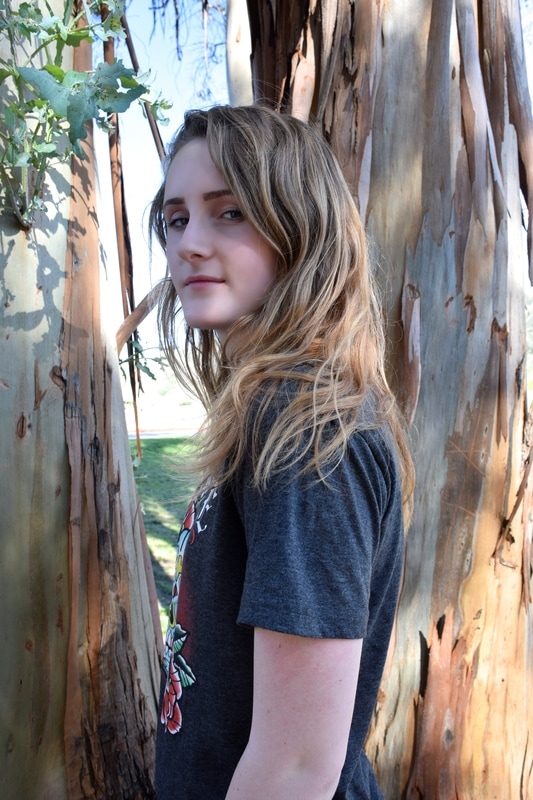
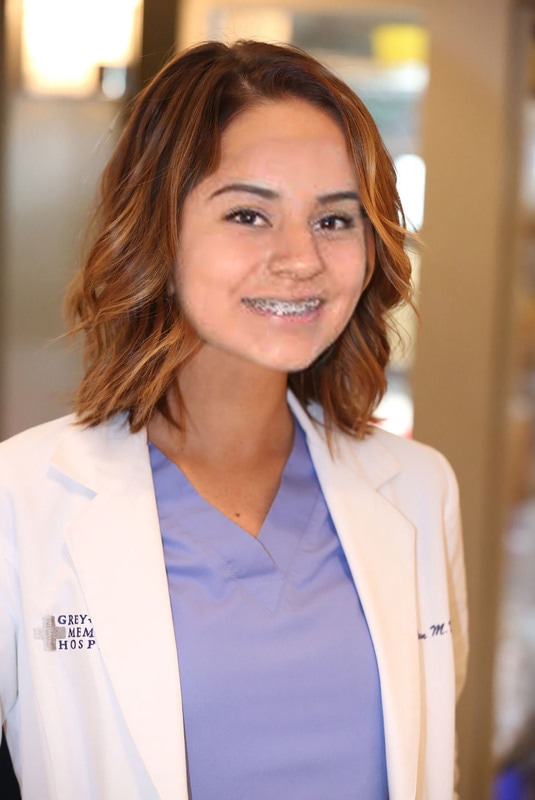
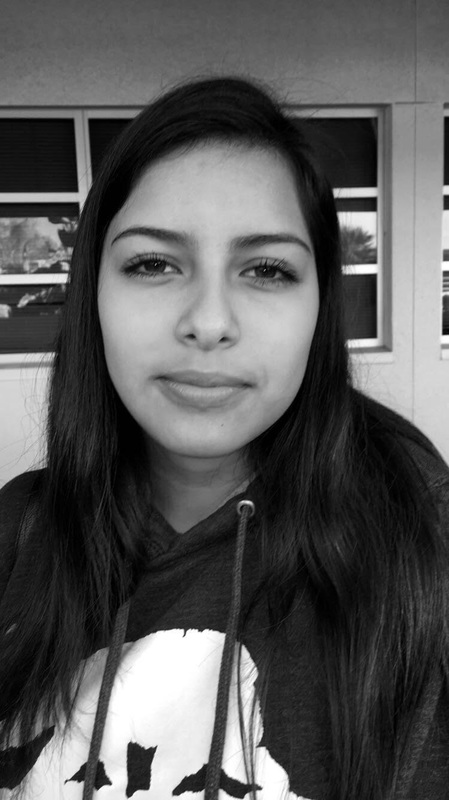
The name of this image is “ Clear my mind” because she’s looking straight ahead of head of her with a serious face thinking and just clearing her mind off things. This image was taken at the duck pond located in vista, right by our school. The composition used in this picture is framing because the light of it works good with it just bring the viewers focus to the main subject. The type of camera I used is a Nikon D5300 18-140mm lens. I created this image by using Adobe Photoshop and I just fixed the imperfections of the photo and covered up any blemished to give the model a nice and clear look. My image is in division of portrait photography which shows the model having a serious look by looking up. The picture has a bright lighting because I used a reflector that helps out the lighting.
Composite
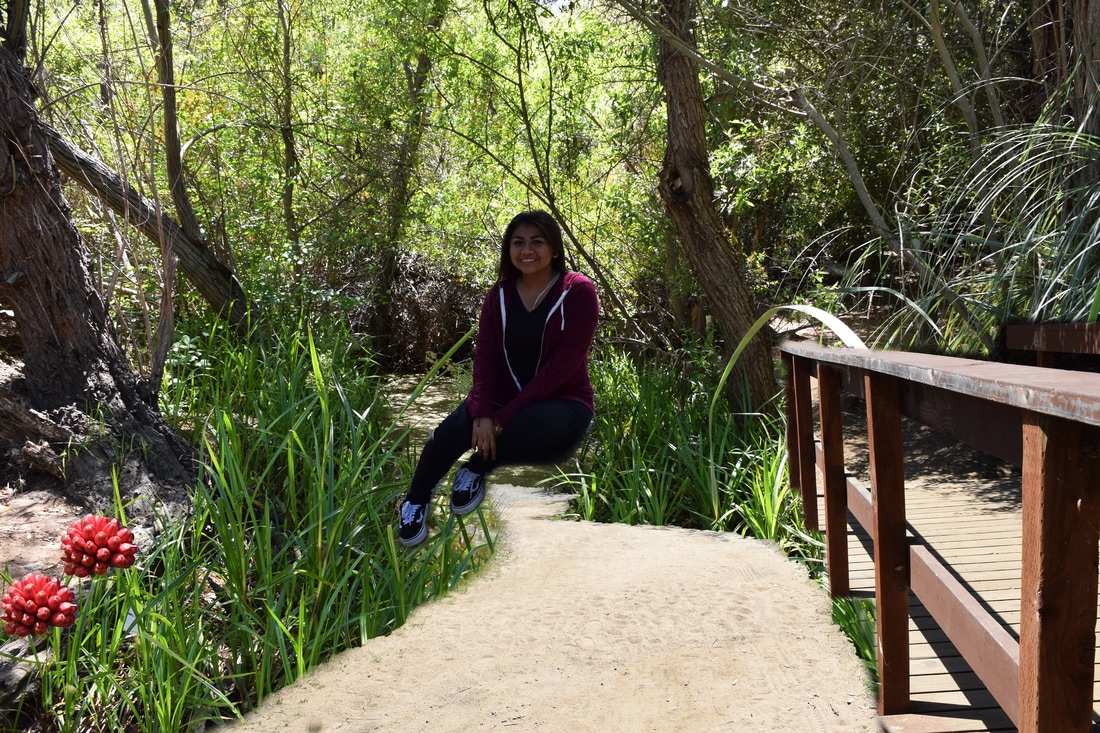
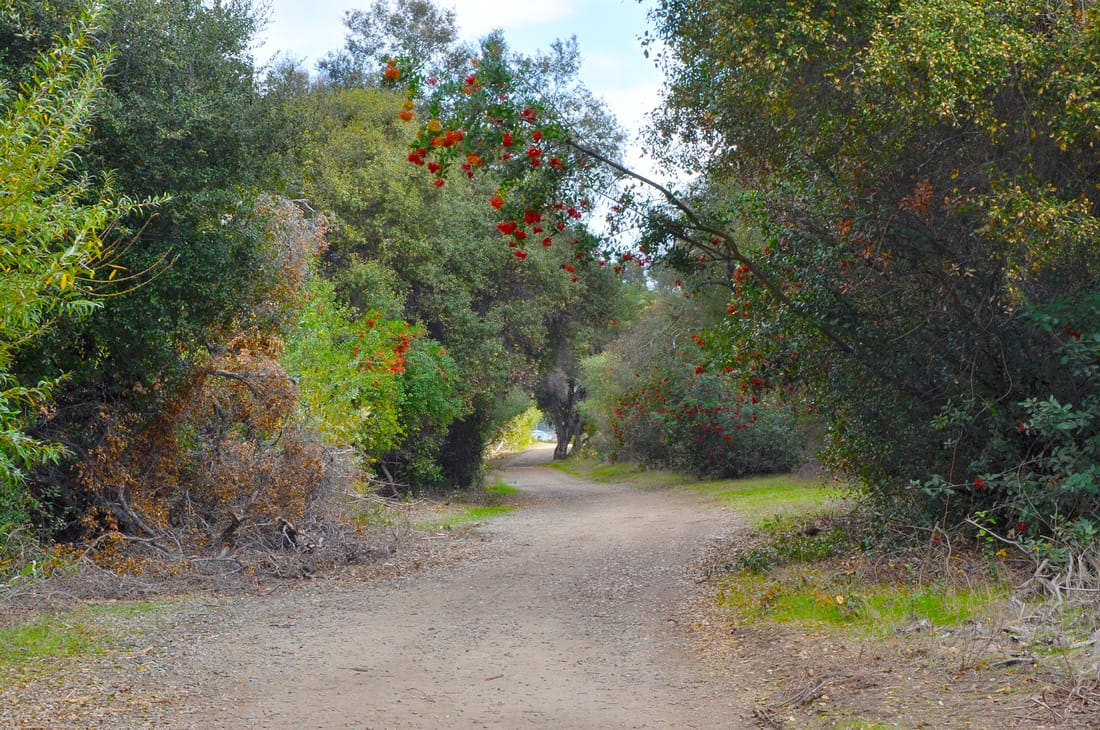
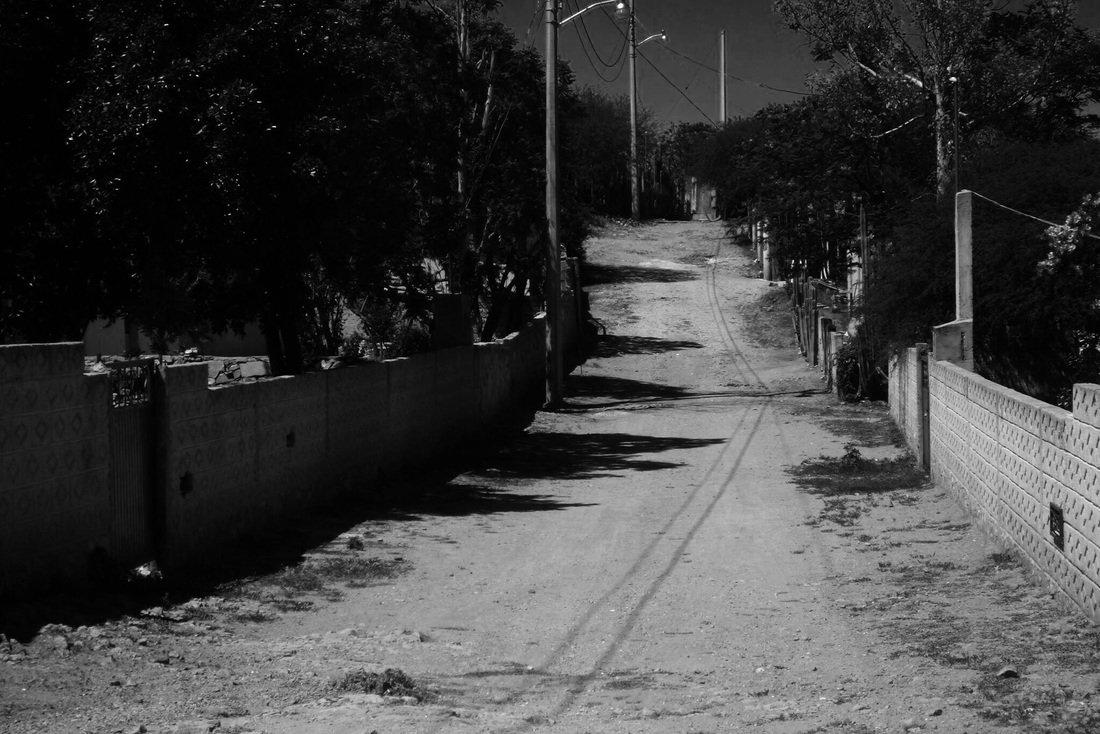
For my composite i picked a quote that says "Still around the corner there may wait, a new road or a secret gate." This quote connects with my picture because in my photo it shows two roads and a girl in the middle the road that is the bridge is the secret road because you dont know whats at the other end. For this all i used was layer masking.
Flying

Portraiture
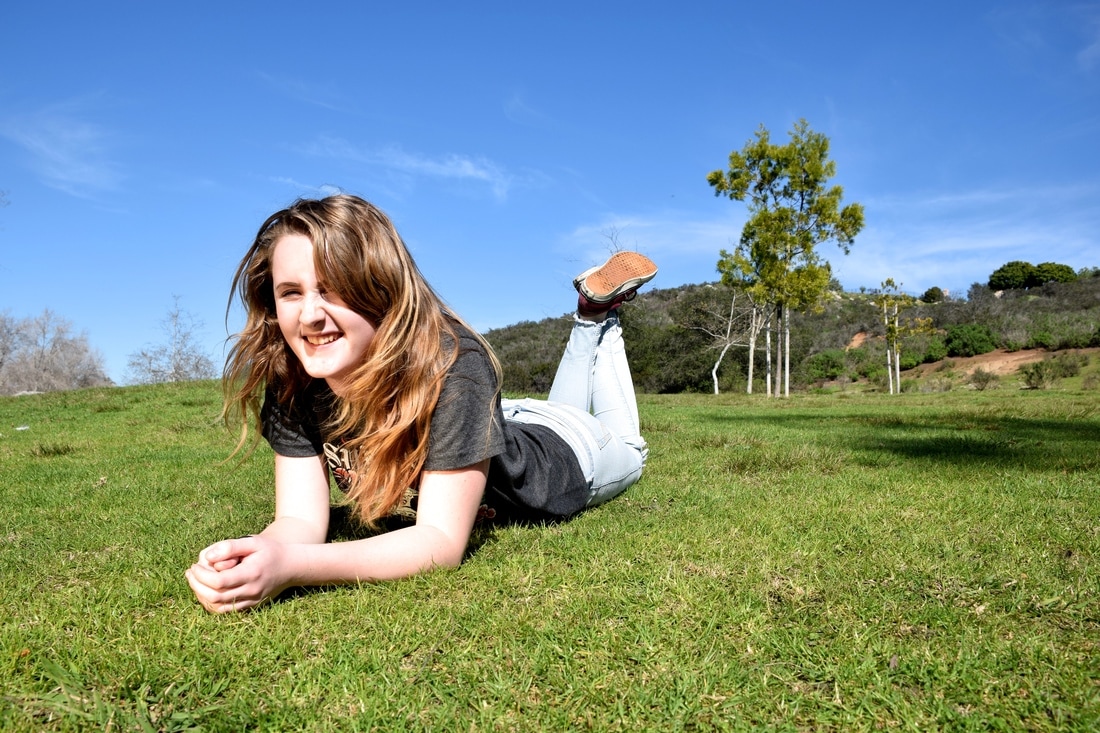
What I learned from going to the duckpond and taking pictures is the different types of pictures we can take outside using reflectors. The thing that helped me decide the different type of poses to do is a picture we were given it was helpful because we didn't struggle trying to figure out what kind of poses to do. I used the reflector In the suns and in the shade it was helpful because it gave the photograph a different type of look it made the person get a brighter and softer look. What i retouch in the photograph is the imperfections of the photo and covered up any blemishes to give the model a nice and clear face.

Food Photography
For the food photography project i brought a white cake, for props i didn't really use any specific ones i just had a plate and a knife. Some things i learned from this project was that the lighting for pictures is important or else they won't come out as good. Second thing i learned was that theirs specifics apertures to take good pictures of food. A third things was not taking very unclose pictures of the food or else they will just come out blurry and make them not look good. A fourth thing I learned that there is specifics ways to put the food so it can look kinda professional for example cutting the cake so you can see the inside of it. One last thing i learned from this project is that if you make the food look somewhat "messy" it will grab a bit more attention to the viewers. What I did to make this look like a professional food photograph was cutting the cake in slice to give it an inside look. I learned from food photography that I didn't know from other projects was using reflectors gives the food more of a realistic look and catches the attention. I think i was successful in this project by giving the cake more of a realistic view and this is something I would do again because it was a pretty cool and fun project.
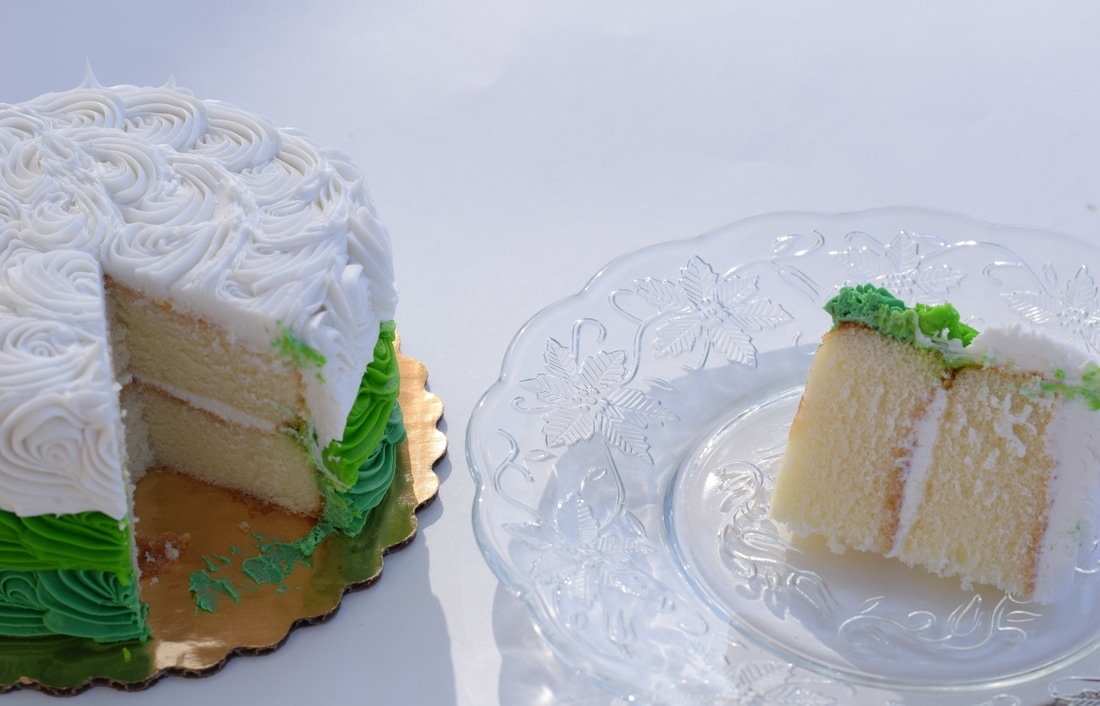
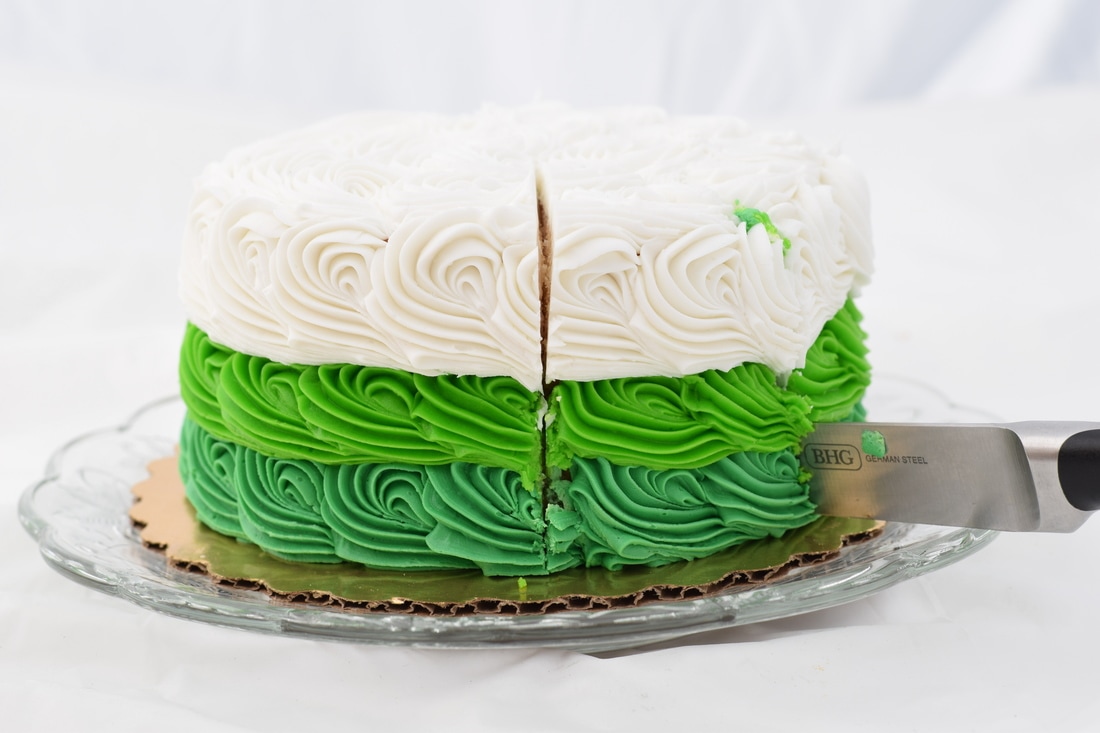
Piece of cake : Aperture f/8, ISO 200 Shutter speed 1/250
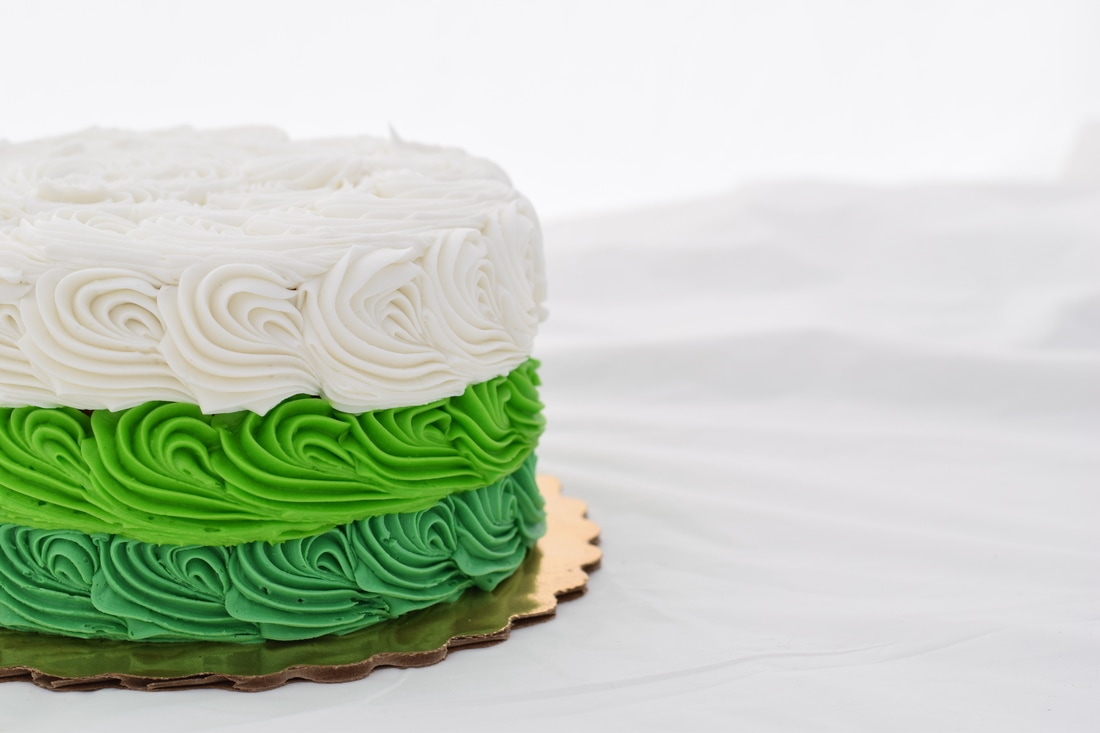
Side View : Aperture f/8, ISO 200, Shutter speed 1/750
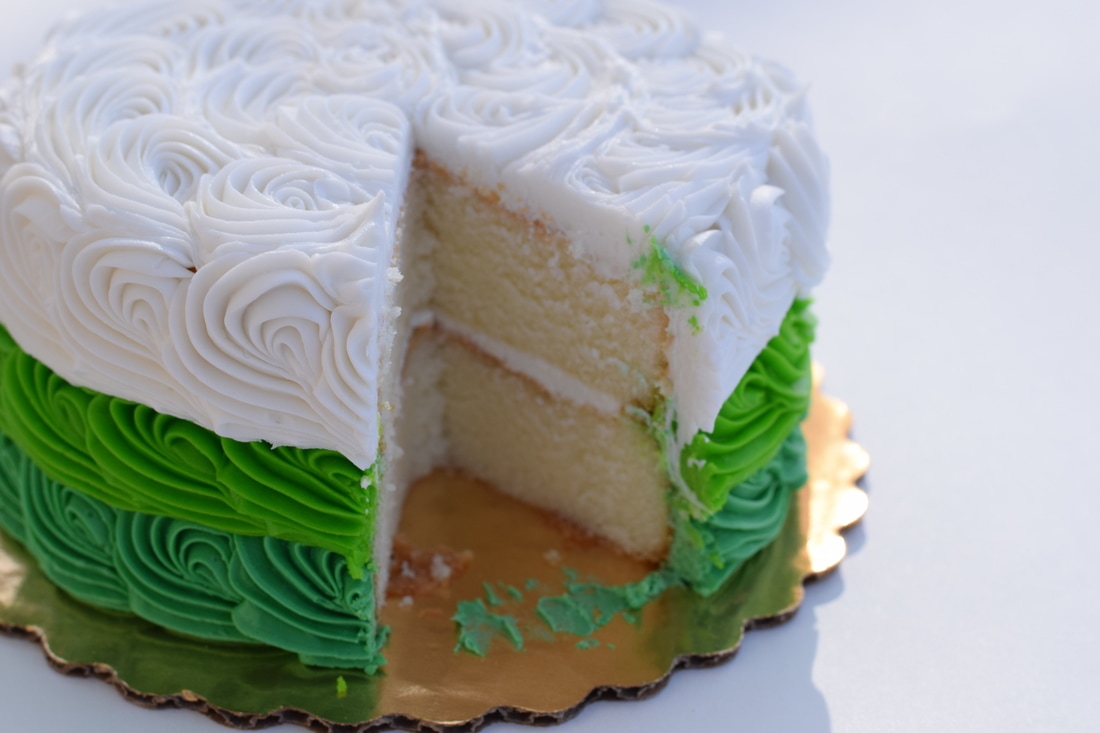
Slice It Up : Aperture f/1.8, ISO 200, Shutter Speed 1/350
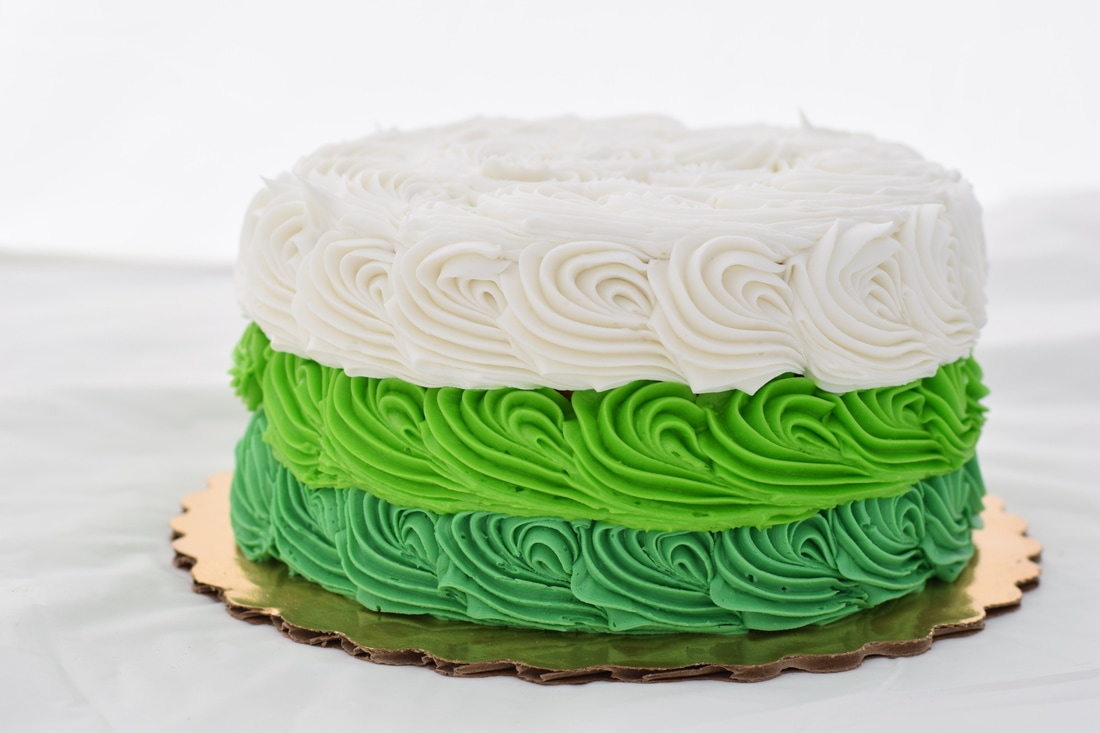
Full Cake : Aperture f/8, ISO 200, Shutter Speed 1/500
White Cake : Aperture f/8, ISO 200, Shutter Speed 1/250
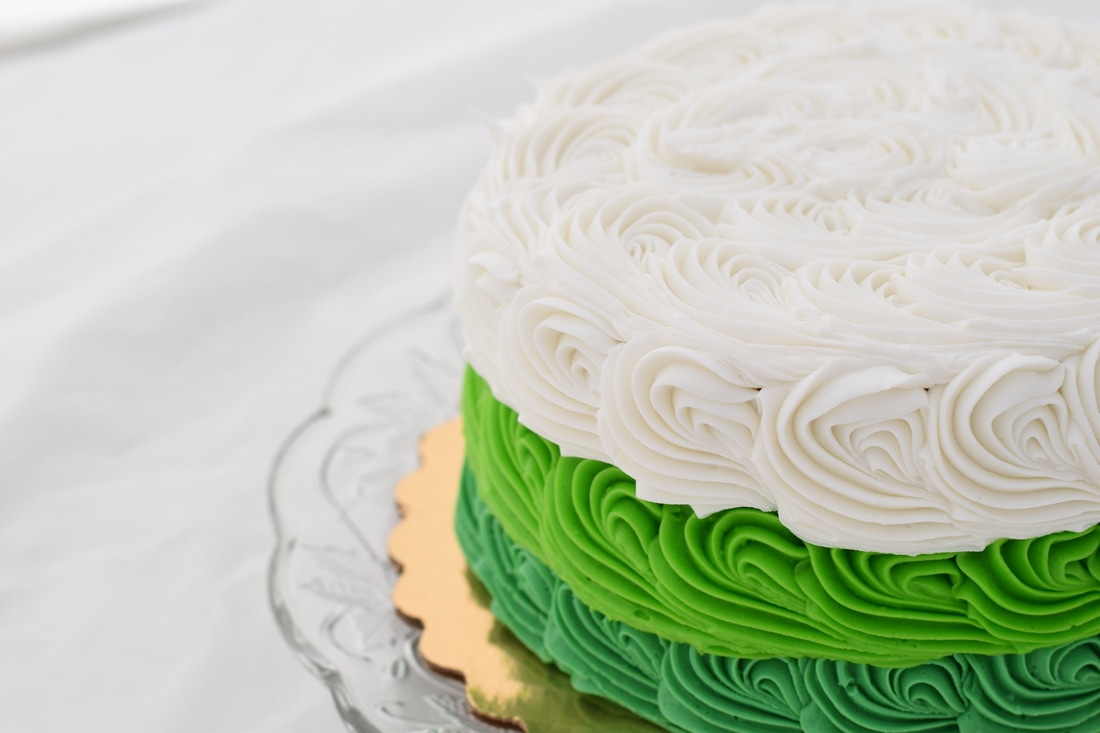
Whip Cream : Aperture f/1.8, ISO 200, Shutter Speed 1/750
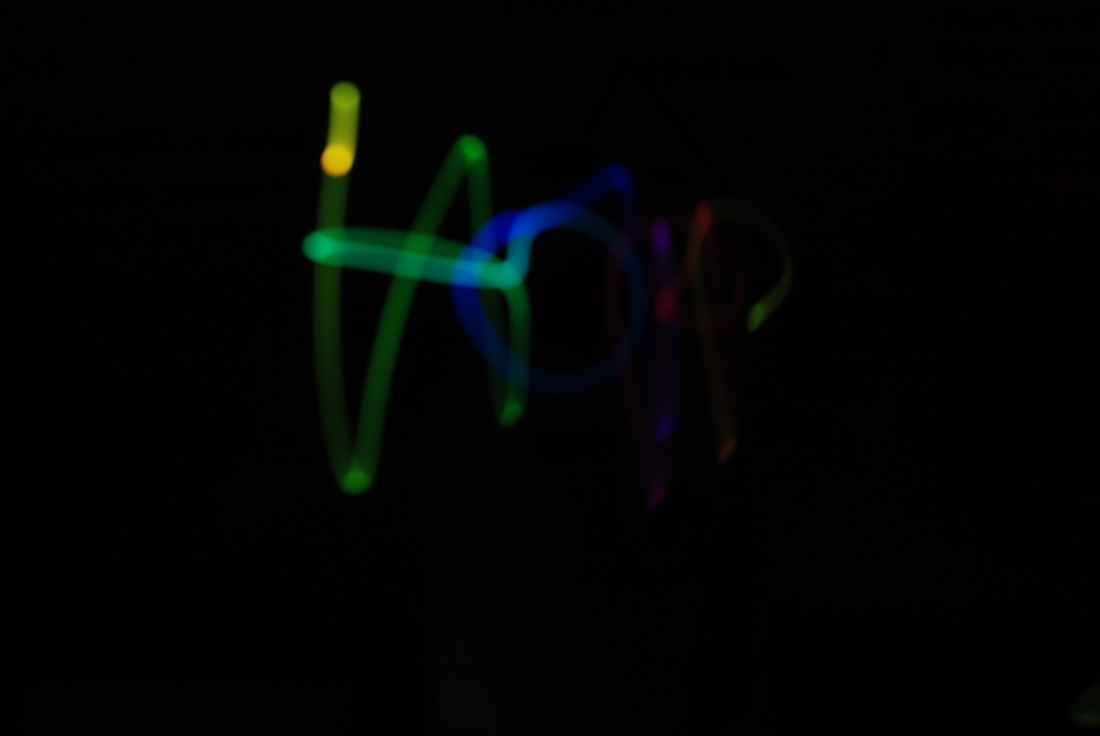
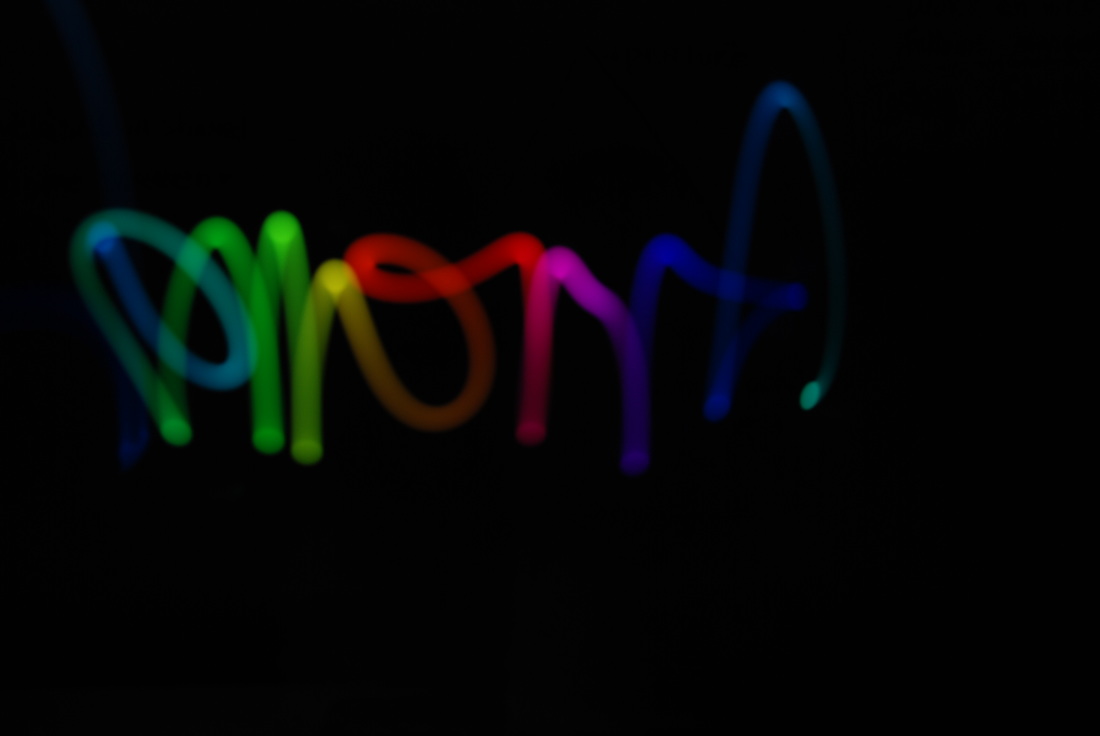
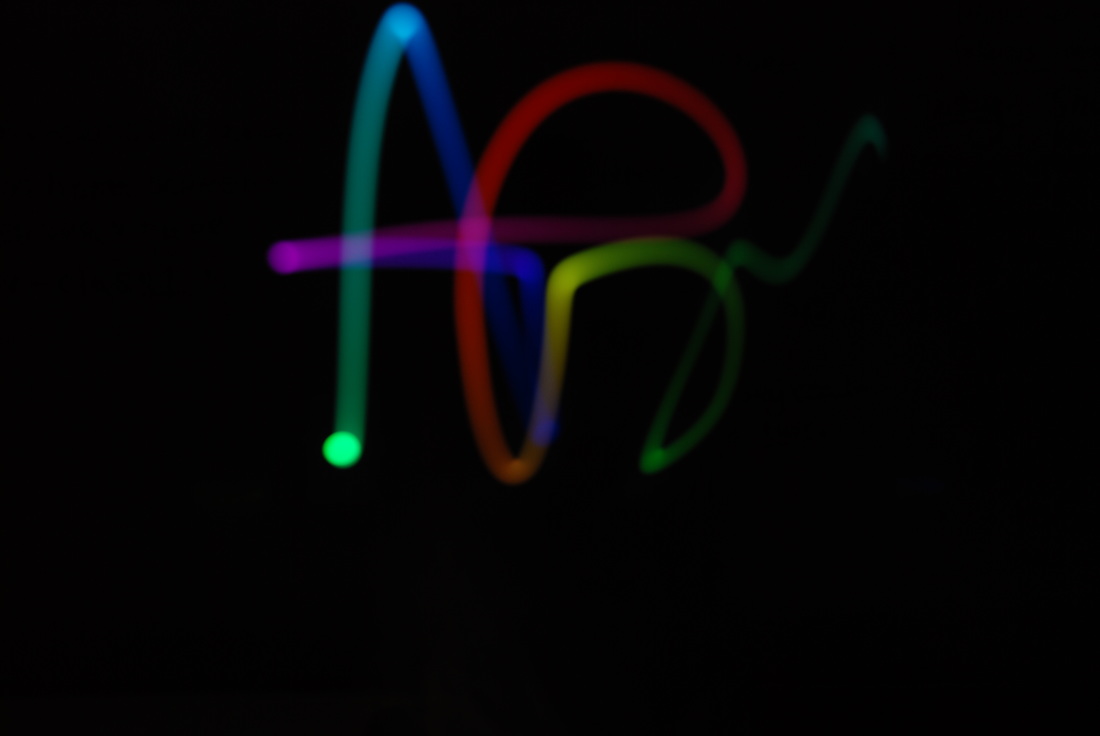
Name Project
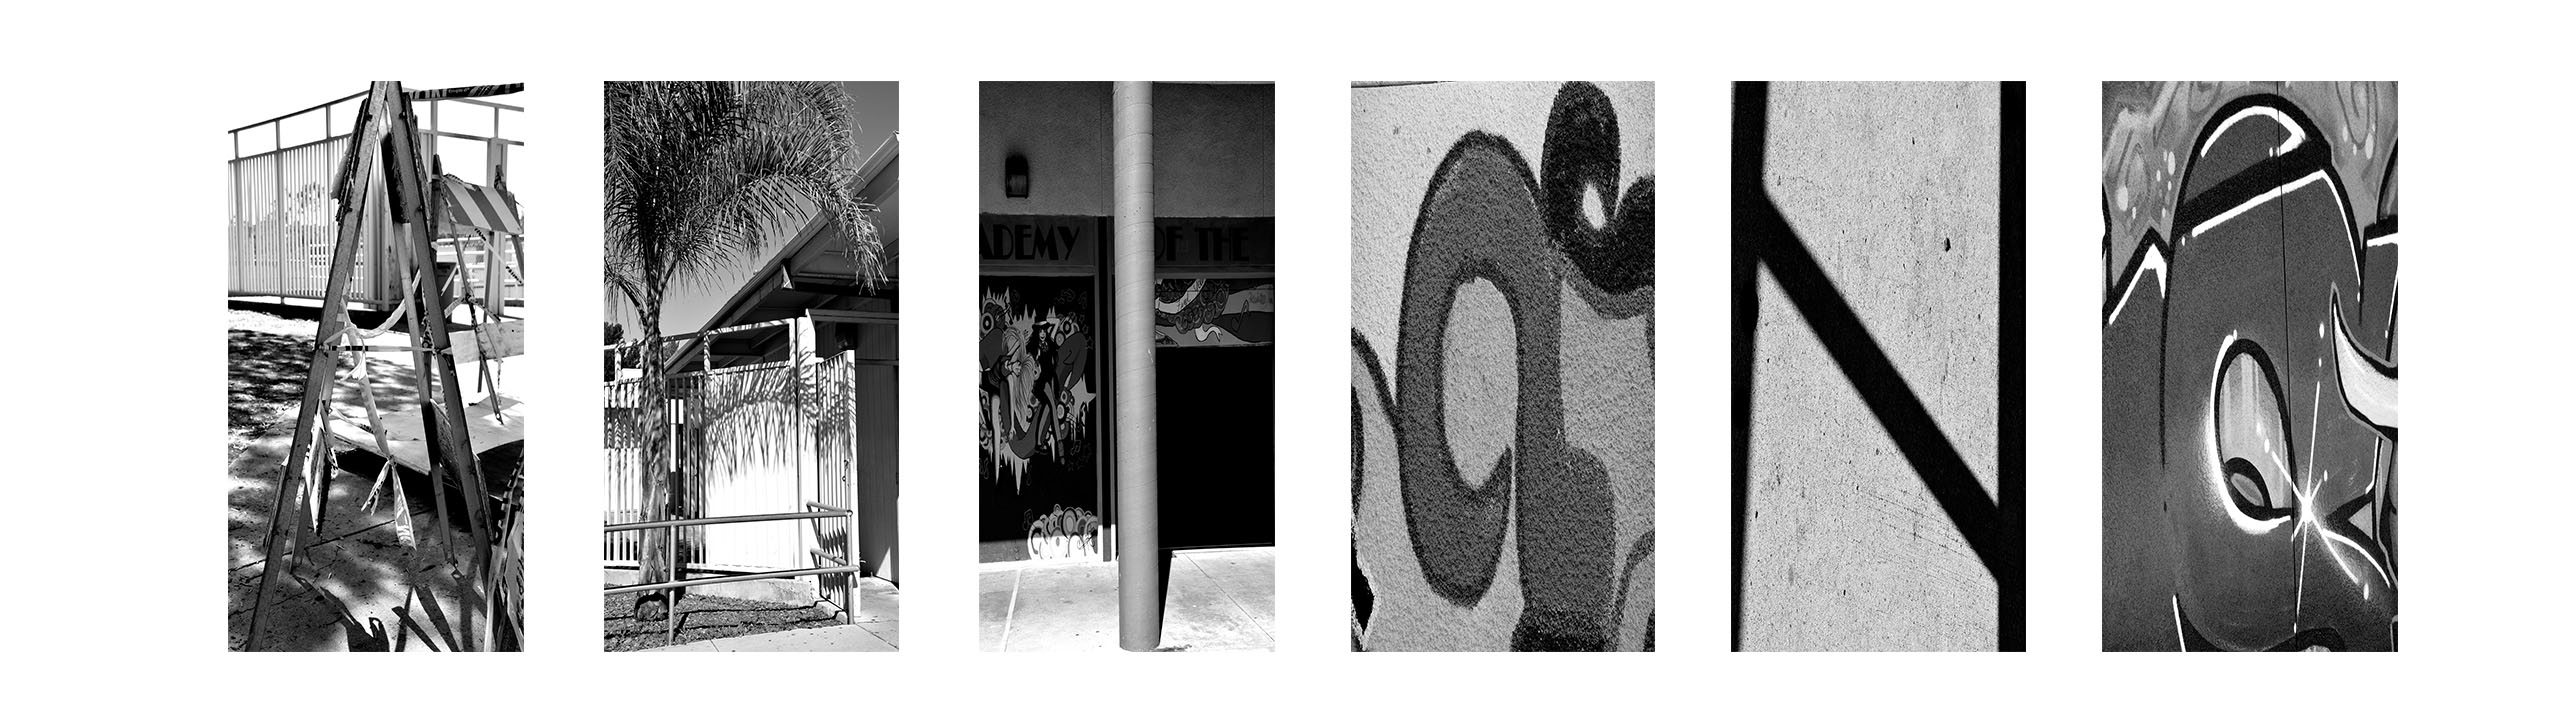
In this project i used Adobe Photoshop CS6 to make my name project. Before that i edit my photos and turn them black and white. Then i use photoshop to put the letters in the order then i saved all my work and turned it in. The steps i was kind of a challenge was trying to find objects that look like the letters i was looking for the one that was difficult finding was an "r" but i found a palm in shape of the letter r. I was proud of finding good objects in the letters of my name and that also what i liked most about my work too. I think my work wasn't bad maybe i could have improve in finding more unique things of a lower case "a".
Layer Mask
In ten years i see myself as a Pediatrician in a hospital working with babies and other types of sick kids. I chose this career because I've always had a thing in wanting to be a doctor and help people out and help kids out
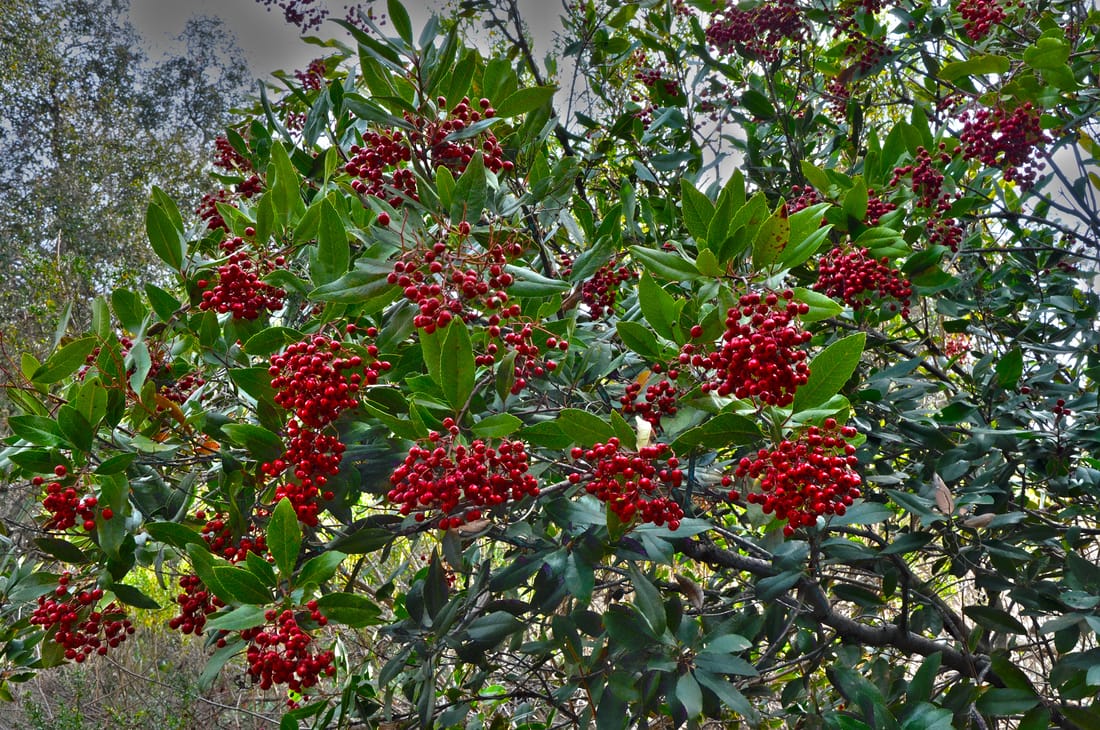
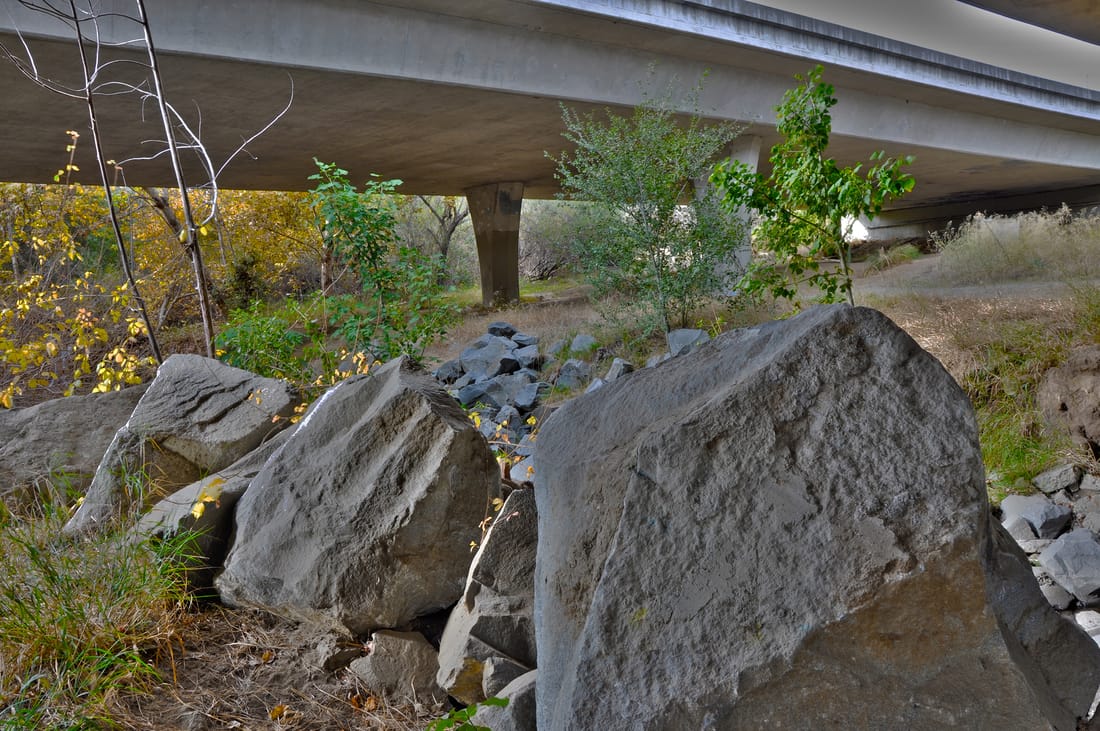
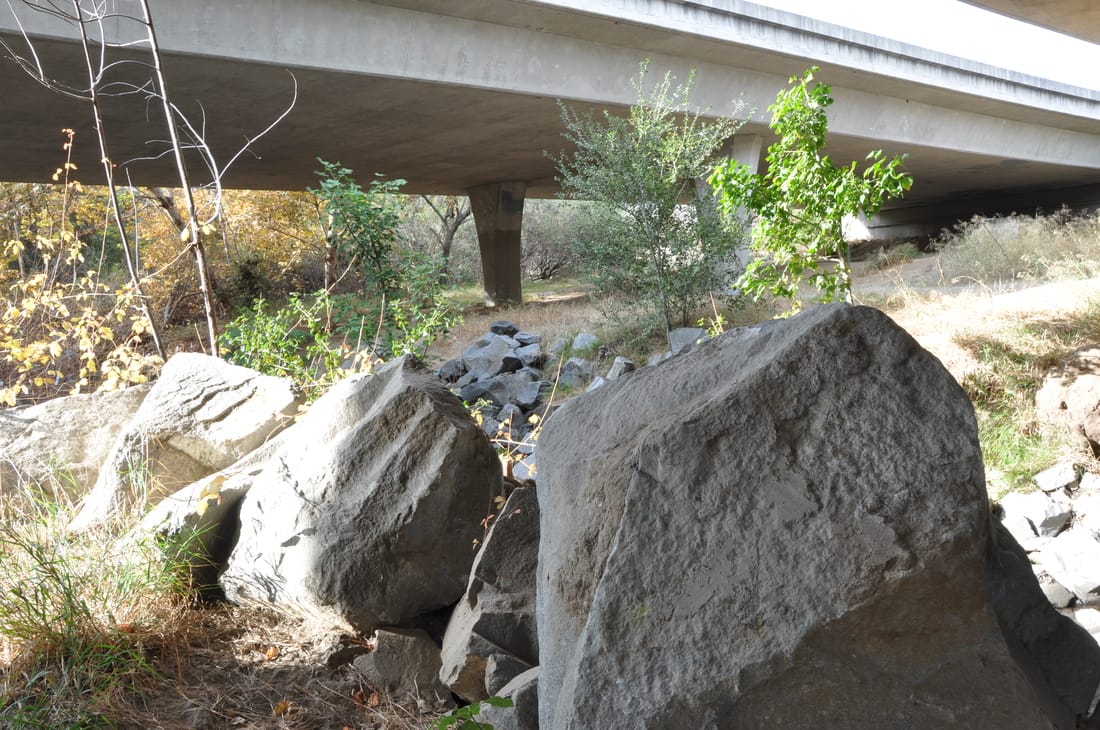
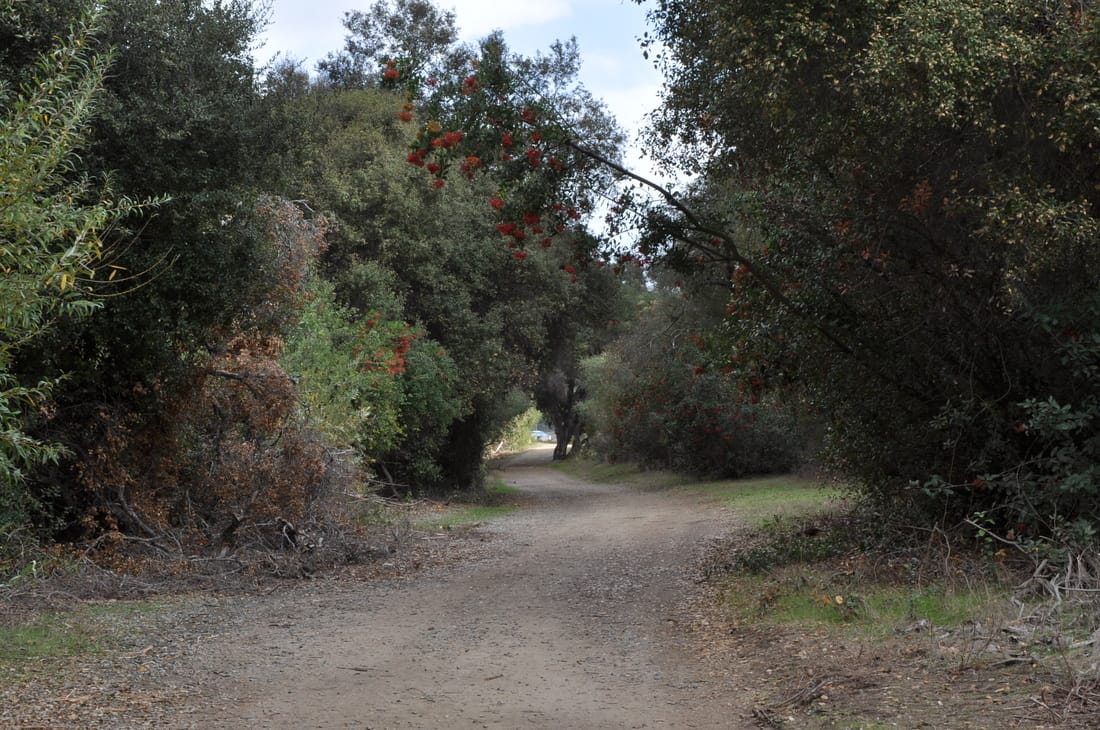
HDR Compositions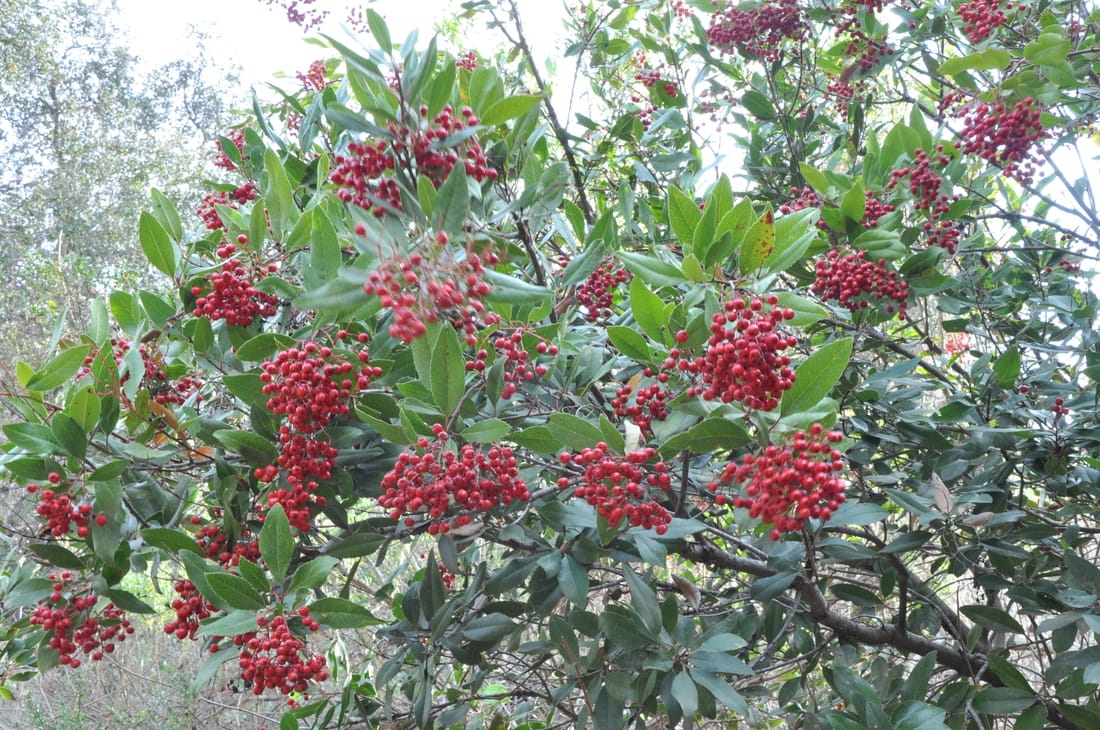
|
|
Crop : Before And After
|
|
|
Artist As Mentor
|
|
|
Super Moon
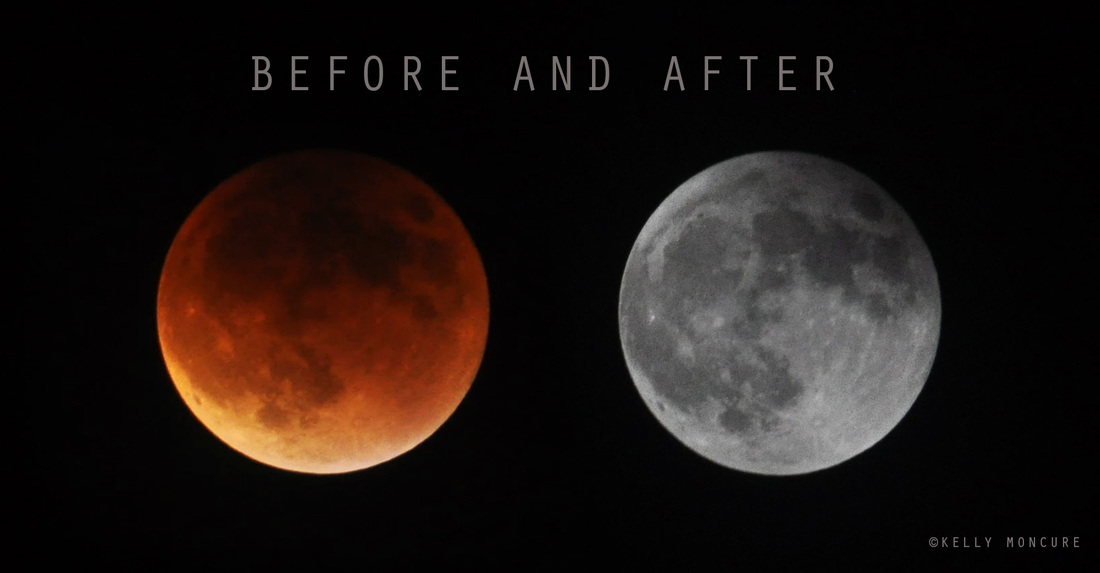
Blood Moon Lunar Eclipse, September 27, 2015. Left image: 70-300mm lens @ 270mm, ISO 1000, aperture f/5.3, shutter speed 1.3 secs. Right image: 70-300mm lens @ 300mm, ISO 800, aperture f/13, shutter speed 1/1250 sec.
To photograph the moon:
1. Use a tripod! A flat surface will only allow you to shoot straight, and shooting the moon means that you'll be shooting up and constantly re-adjusting the tripod as the moon moves throughout the night.
2. Use a shutter release cord, remote or the camera's self timer if you don't have one, so that you don't move the camera when pressing the shutter release during a long exposure.
3. Use a zoom lens and zoom in as much as you can to the moon. It's okay if it's not a super fancy lens, this was shot using a 15 year old $100 lens. Focus in on the craters and details on the moon.
4. ISO 1250- 1600, so that you can use as fast a shutter speed as you can without losing detail-the longer the shutter speed, the more chances you have the camera will shake even slightly in the wind, resulting in an out of focus photograph.
5. Aperture priority of f/5.6 since you are not worried about capturing any details other then the moon.
6. Bracket your exposure, meaning over expose and underexpose the photograph from what the camera is telling you. Generally the camera will overexpose the moon, so you'll get nothing but a white blob in the sky. Use the exposure compensation button (the +/- button below the shutter release) and change the exposure to -0.5, then -1.0, then -1.5 and so on, until you start seeing detail in the moon. You may go as far as -5.0 exposure compensation to get what you need.
7. Take a fair amount of photos and keep refocusing as the night progresses. The photographs may look focused on the camera's display, but you won't really see if they're completely in focus until you upload them onto your computer screen.
Space
Color
Principles Of Art
Aperture f/8, Shutter speed 1/500 of a second, ISO 400
Aperture f/8, Shutter speed 1/500 of a second, ISO 400
Aperture f/8, Shutter speed 1/500 of a second, ISO 400
Aperture f/8, Shutter speed 1/500 of a second, ISO 400
Aperture f/8, Shutter speed 1/500 of a second, ISO 400
Aperture f/8, Shutter speed 1/500 of a second, ISO 400
Elements and Principles of Art
Line
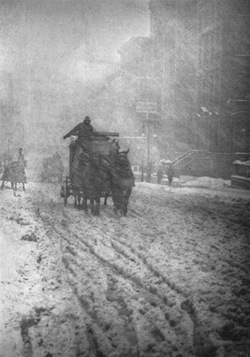
- A line is one dimensional and can vary in width direction and length. Line also can define the edges of a form. Lines can be horizontal, vertical or diagonal, straight curved thick or thin. Lines lead your eye around the composition.
- Alfred Stieglitz, Winter, Fifth Avenue (1892)
Color
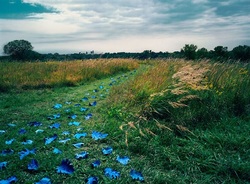
- Color has three main characteristics: Hue (Red, yellow, green) Value ( how light or dark it is) and intensity (how bright or dull it is). Colors can also be described as warm(red yellow) or cool (blue green)
Sandy Soglund, As Far as the Eye can see, 2001

Shape
Laszlo Moholy-Nagy, Yellow Circle ,1921
- Shape is two dimensional with a height a width
Organic shape : a shape made by nature. Not completely defined.
Inorganic Shape : man-made such as triangles and rectangles.
Laszlo Moholy-Nagy, Yellow Circle ,1921
Form
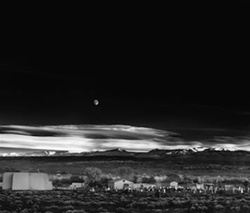
- Form is 3-dimensional, has height and width and depth.
Photographers emphasize form by the use of highlight and shadows.
Ansel Adams, Moonrise Hernandez, 1941

Space
Josef Koudelka, France, 1989
- Real space is three dimensional. Space in a work of art refers to a feeling of depth or three dimension. It can also refer to an artist’s use of the area around the picture plane
Positive Space - The space occupied by the primary object.
Negative Space - The space around the primary object.
Josef Koudelka, France, 1989
Value
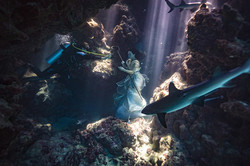
- Value is the lightness or darkness of a surface. It is frequently used when talking about shading, but is also important in the study of color.
Benjamin Von Wong,
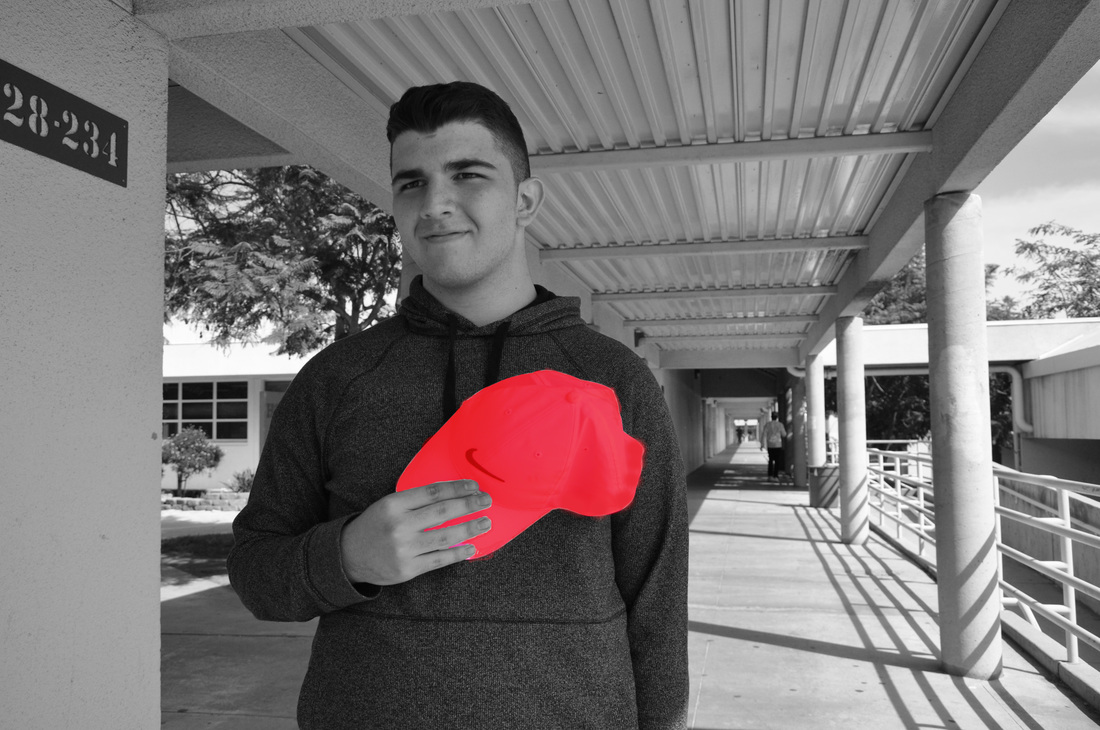
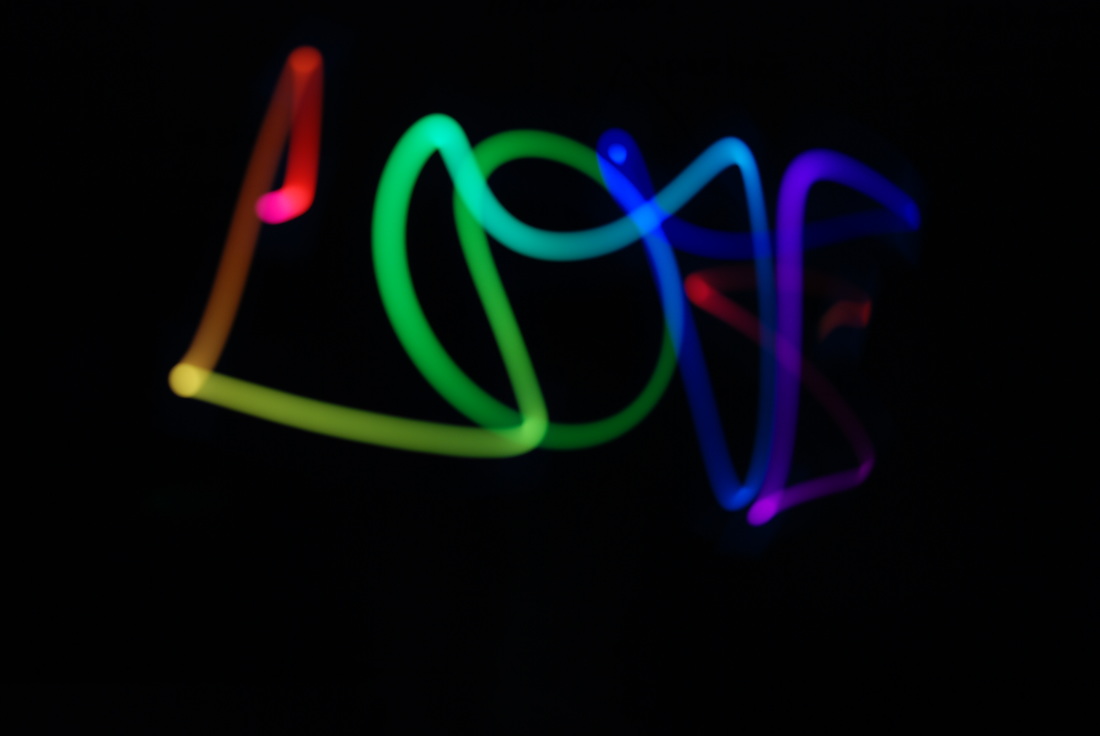
RESPECT
Light Painting |
In my picture the red hat symbolizes giving respect to basically people or anything. Just like when we do the pledge of allegiance we put our hand in our heart shows a sign of respect. Respect to me is taking consideration other people's feelings and mine also. It's also caring for yourself and making the right decisions that won't affect you.
The picture also has red because of red ribbon week which is respecting the people that are drug free or are trying to get out of it which basically that's what red ribbon week is for me. Having respect and the knowledge to do good things and do something productive in your life. |
ISO 100 Aperture F/5.6 Shutter Speed 28mm
ISO 100 Aperture F/5.6 Shutter speed 28mm
ISO 100 Aperture F/5.6 Shutter Speed 28mm
ISO 100 Aperture F/5.60 Shutter Speed 28mm
Shutter Speed
Shutter Speed
- Shutter speed are both a technical and aesthetic choice a photographer needs to make before releasing the shutter.
- The shutter inside your camera controls the duration of time the sensor is exposed to light.
- Capturing motion in your photograph can emphasize movement and add drama.
- A fast shutter speed is often utilized to freeze the movement of a subject
- A slower shutter speed can be used to show motion and visualize movement
- Shutter speed are expressed as seconds or fractions of second.
- As a general rule to prevent unintentional camera shake you should avoid handholding your digital cameras at shutter speeds slower than 1/2x focal length.
- Using a tripod can help eliminate camera shake when using slower shutter speeds.
- The visual blur and suggestion of movement occurs because the subjects is moving against a static background.
- Layering of different subjects moving different directions at different speeds can st up interesting dynamics within a photograph.
- Fast shutter speeds can make normal subjects appear to freeze in the air.
- When photographing people running relatively close to the camera a shutter speed of 1/1000 second or faster should freeze most motion.
- The distance the subjects is from the camera, the speed of the subject, and the focal length of the lens will affect whether the subject is sharper blurred.
- Slower shutter speed can help convey the idea of motion and movement.
- Slow shutter speeds combined with panning can help isolate the subject from a busy and distracting background.
- A tripod combined with a long exposure can capture the fireworks trail.

ISO 100 Aperture f?16 Shutter Speed 1/3
The Defeat of Batman and Flash
 Goodbye Rhino
Flash finally got up and had so much anger In him and started to punch the rhino as well. The rhino couldn't defend himself against them so gave up and stopped fighting back. The rhino stopped moving and Batman and Flash stop punching him moments later they found out they had defeated the rhino and left him in the middle on nowhere.
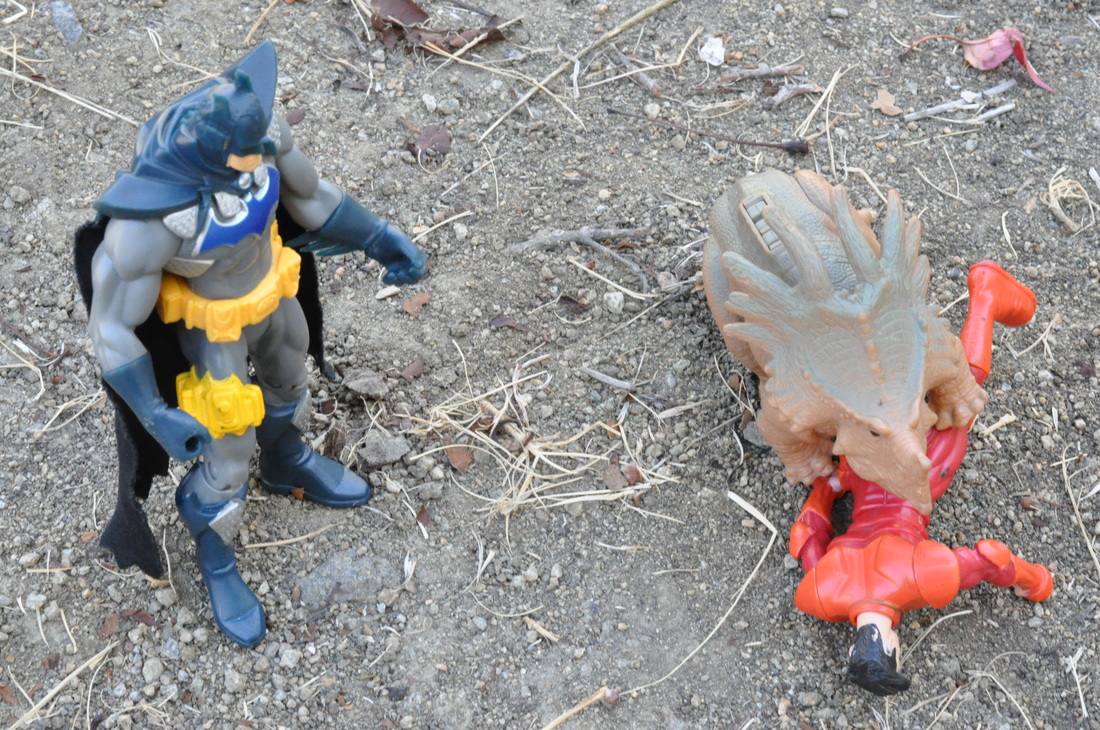
Batman's Hit
ISO 3200 f/8 1/320
He quickly took the rhino off flash and so the rhino fell and batman started punching him. Flash on the other hand was still having trouble getting up. He was hurt from being attacked and having the rhino on top of him. As minutes passed batman kept attacking the rhino until he got tired.
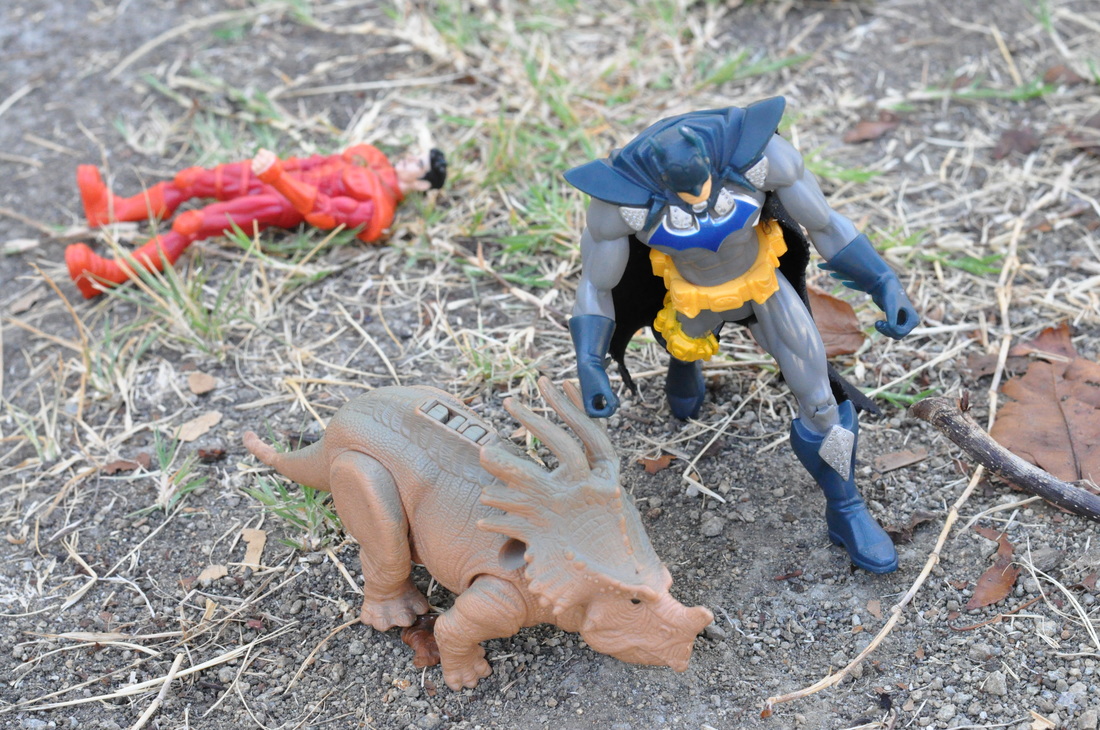
The attack of the rhino
ISO 3200 f/16 1/160
All of a sudden the big rhino jumped on top of flash! Flash was having trouble to get up he had no type of control the rhino was to strong and heavy. Batman got furious because that was his best friend being attacked and so he thought of a plan to help him out.
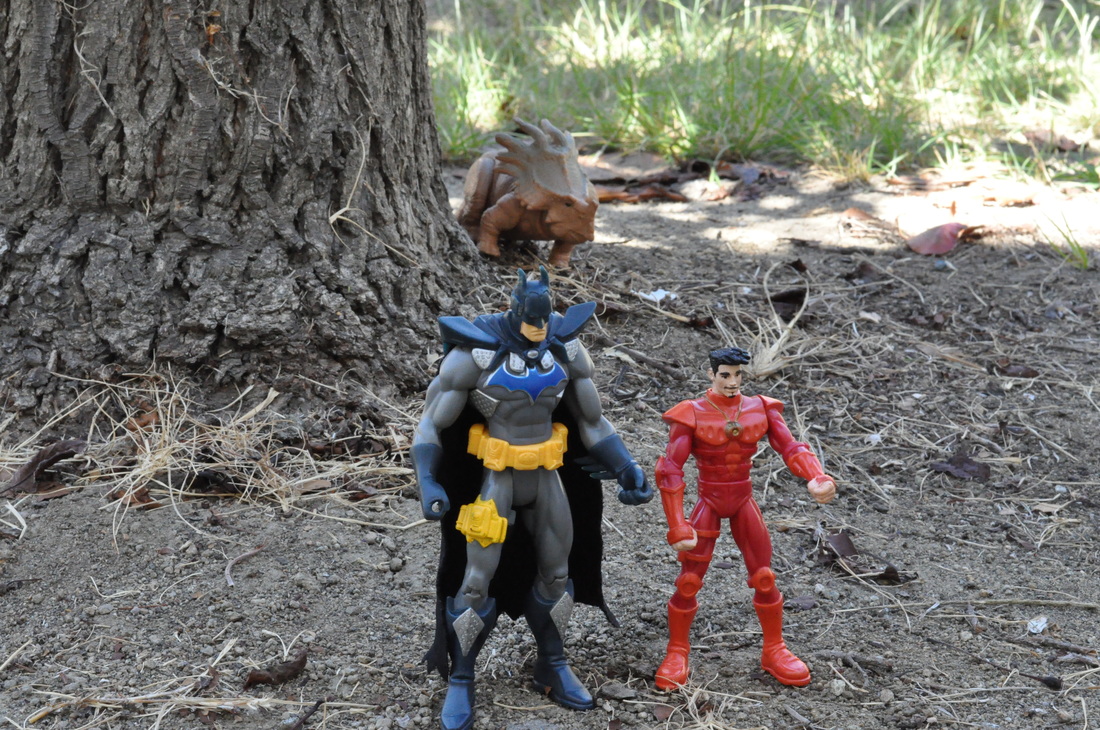
The walk
ISO 3200 f/8 1/250
As Flash and Batman were walking they kept hearing the noise get closer and closer to them. They both turned around and didn't see anything at all so they kept walking. The rhino was smart and kept hiding under the tree so they couldn't see him. Suddenly they heard a very loud noise and they were both in shock!
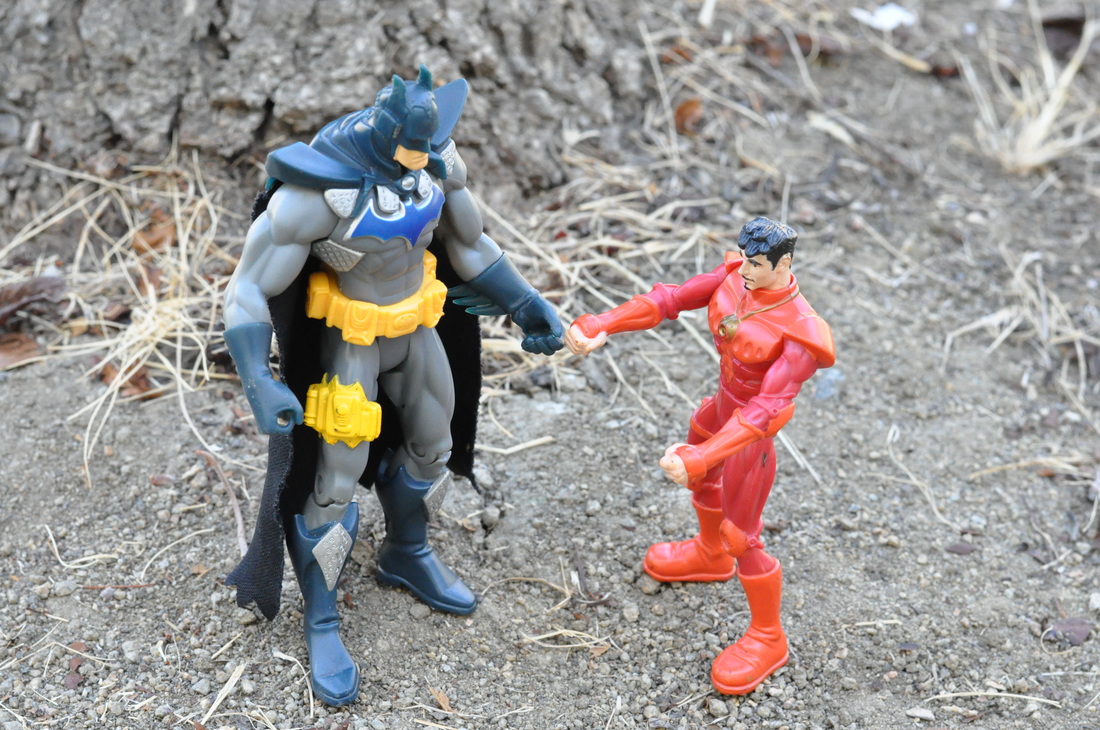
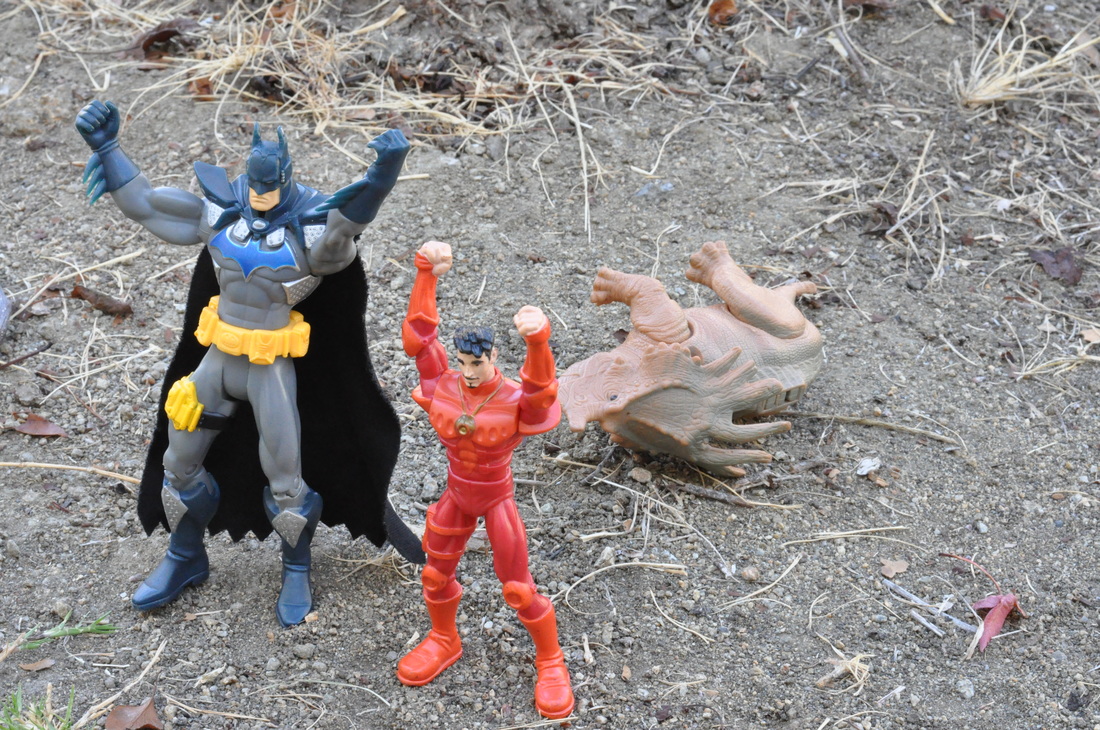
Best friends
ISO 3200 f/8 1/250
One day Batman and Flash decided to meet up at a deserted place. They're best friends and go everywhere together so one day they decided to go for a walk. As batman and flash continue to talk and they heard a weird noise. At first they didn't really pay attention but after they decided to leave the place because it could be dangerous for them.
Aperture f/8 Shutter speed 1/100th of a second ISO 100
Aperture f/16 Shutter speed 1/25th of a second, ISO 200
DSLR
Exposure
Before taking a photo consider these three things
Size of Aperture - Large versus small aperture
Aperture basics
Shutter Speed
How to shutter speeds are measured
Rule of thumb for shutter speed
General rule of thumb
Modes on the DSLR
How to hold a DSLR
- DSLR stands for “Digital single lens reflex”
- A DSLR is a digital camera that uses mirrors to direct light from the lens to the viewfinder
- Which is a hole on the back of the camera that you look through to see what you are taking a picture of.
Exposure
- Exposure is the amount of light collected by the sensor in your camera during a single picture.
- If the shot is exposed too long the photograph will be washed out.
- If the shot is exposed too short the photograph will appear to dark.
- Almost all cameras today have light meters which measure the light in the given shot and set an ideal exposure.
- The three primary controls your camera uses for exposure are aperture, shutter speed, and ISO.
Before taking a photo consider these three things
- Aperture
- Shutter Speed
- ISO
- Aperture in a camera
- Simply put aperture is a hole within lens, through which light travels into the camera body.
- It is easier to understand the concept if you just think about our eyes. Every camera that we know of today is designed like human eyes.
Size of Aperture - Large versus small aperture
- In photography, aperture is expressed in F-numbers (for example f/5.6). These f-numbers that are knows as “f-stops” are a way of describing the size of the aperture is.
- A smaller f-stop means a smaller aperture. For example, f/1.4 is larger than f/2.0 and much larger than f/8.0.
Aperture basics
- Small apertures (high f/numbers ie f/22) increase the depth of field, bringing both the main subject and background focus.
- Larger apertures (low f/numbers ie f/2.8) soften background details.
- Depth of field (DOF) is the distance to which objects behind and in front of the focal point appear to be focus
Shutter Speed
- Shutter Speed, also known as “Exposure time”, stands for the length of time a camera shutter is open to expose light into the camera sensor.
- If the shutter speed is fast, it can help to freeze action completely.
- If the Shutter speed is low it can create an effect called “motion blur” where moving objects appear blurred along the direction of the motion.
How to shutter speeds are measured
- Shutter speeds are typically measured in fractions of a second when they are under a second.
- For example ¼ means a quarter of a second, while 1/250 means one two-hundred-and-fiftieth of a second or four milliseconds.
Rule of thumb for shutter speed
- The slowest shutter speed for handheld photography is 1/60. Anything lower then that should either be on a tripod or on a straight solid surface.
- Any slower handheld shutter speed begins to get motion blur and your photograph may be out of focus.
- ISO is the level of sensitivity of your camera to available light.
- The lower the ISO number the less sensitive it is to the light while a higher ISO number increase the sensitivity is called “image sensor” or simply “Sensor”
- With increased sensitivity your camera sensor can capture images in low-light environments without having to use a flash. But higher sensitivity comes at an expense- it adds grain or “noise” to the picture.
General rule of thumb
- Bright and sunny, 100 iso
- Cloudy, 250 iso
- Indoor, 500 iso
- Night time without a flash, 1600 iso
Modes on the DSLR
- M- Manual control over aperture and shutter
- A- Aperture priority
- S- Shutter priority
- P-Camera sets shutter speed and aperture
How to hold a DSLR
- Have the camera strap around your neck at all times
- Hold the camera by the lens and hand grip if possible - treat with care!
